Introduction
As stated in the official documentation Histoire is a tool to generate stories applications (or "books"). It's primarily used for organising and documenting components, developing components in isolation, and testing visual regressions by taking screenshots, making it a superb tool for building a company's design system or a components library.
In this guide we will focus on adding convenient and almost zero effort tests to our existing Vue.js application that uses Histoire. We will use Lost Pixel, open source alternative to Percy and Applitools.
This guide is suitable for any level and will cover all you need to do to have your visual testing setup locally and on GitHub actions.
Setting up Vue application
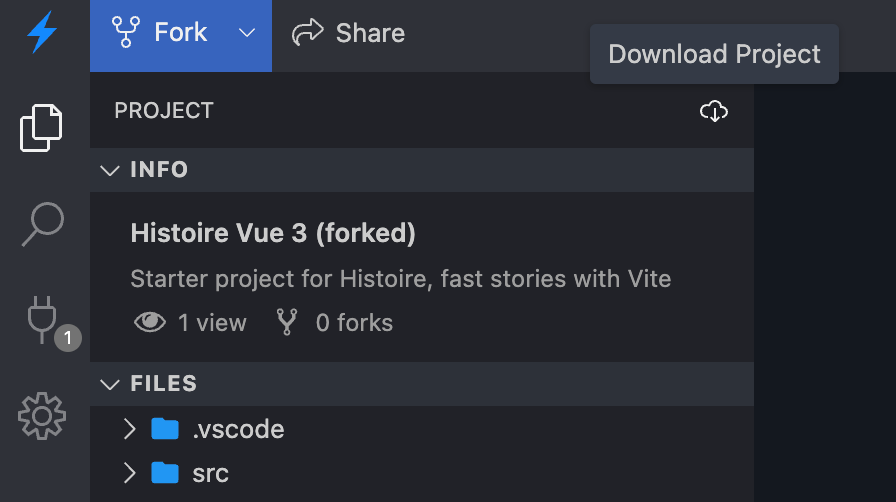
We can clone the existing Vue + Histoire project by clicking download project on StackBlitz.
Before we start we shall add .gitignore file with the following contents to make sure we are not pushing irrelevant files to our git repo later:
node_modules
.histoire
Let's run npm install locally do add all necessary dependencies.
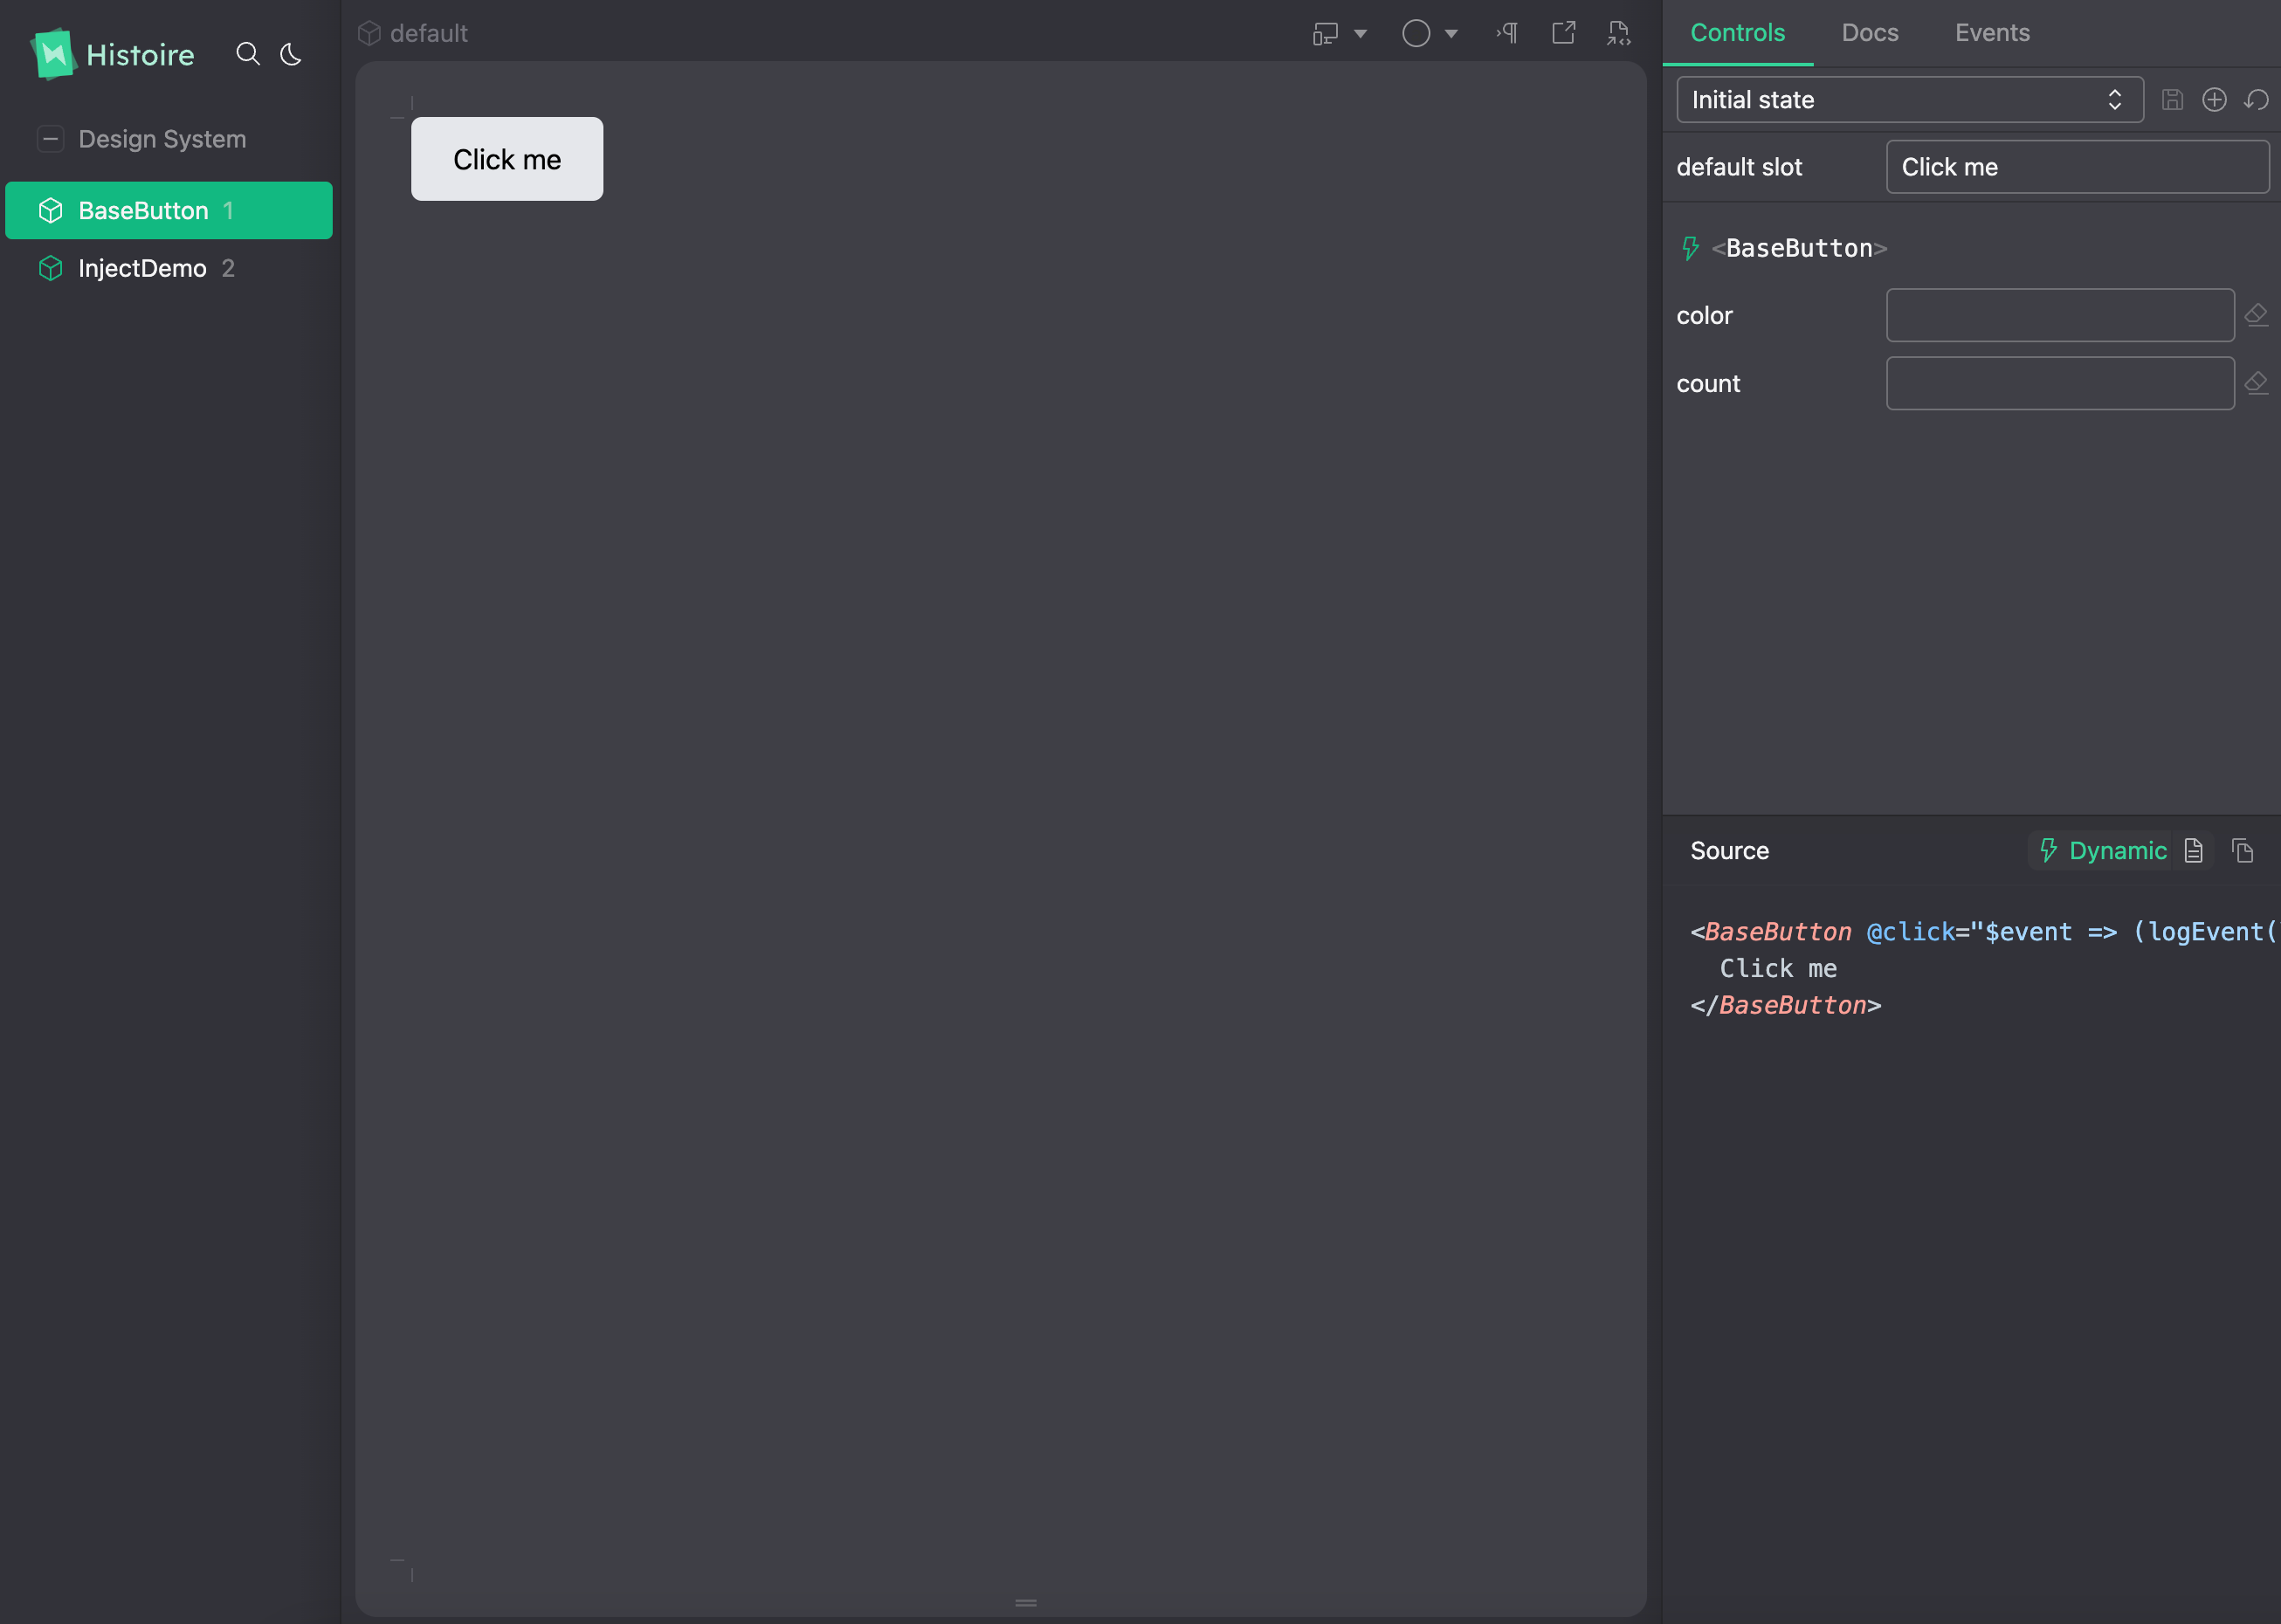
Running npm story:dev will run the Histoire instance locally. We can see that there are couple of stories present thereL:
Visual regression testing setup for Histoire
Lost Pixel has a first class support for Histoire meaning that it just needs a built version of it and that would be enough to run the visual tests on all of your stories.
Let's install lost-pixel by running npm install lost-pixel and create lostpixel.config.ts file and point it to .histoire folder, where we will build our Histoire soon.
// lostpixel.config.ts

import { CustomProjectConfig } from 'lost-pixel'

export const config: CustomProjectConfig = {
  histoireShots: {
    histoireUrl: './.histoire/dist',
  },
  generateOnly: true,
  failOnDifference: true,
}
That's the all necessary setup for our visual tests to run locally. Let's enjoy some magic!
Run npm run story:build and straight after that npx lost-pixel docker update. This will create the visual snapshots of our Histoire stories and will immediately put them into the .baseline folder, it will also run Lost Pixel in docker container.
Note: feel free to remove the docker option from the command for now, we need to run in docker to make sure the screenshots are consistent between our local runs & runs on GitHub actions. It does not make any difference for local runs!
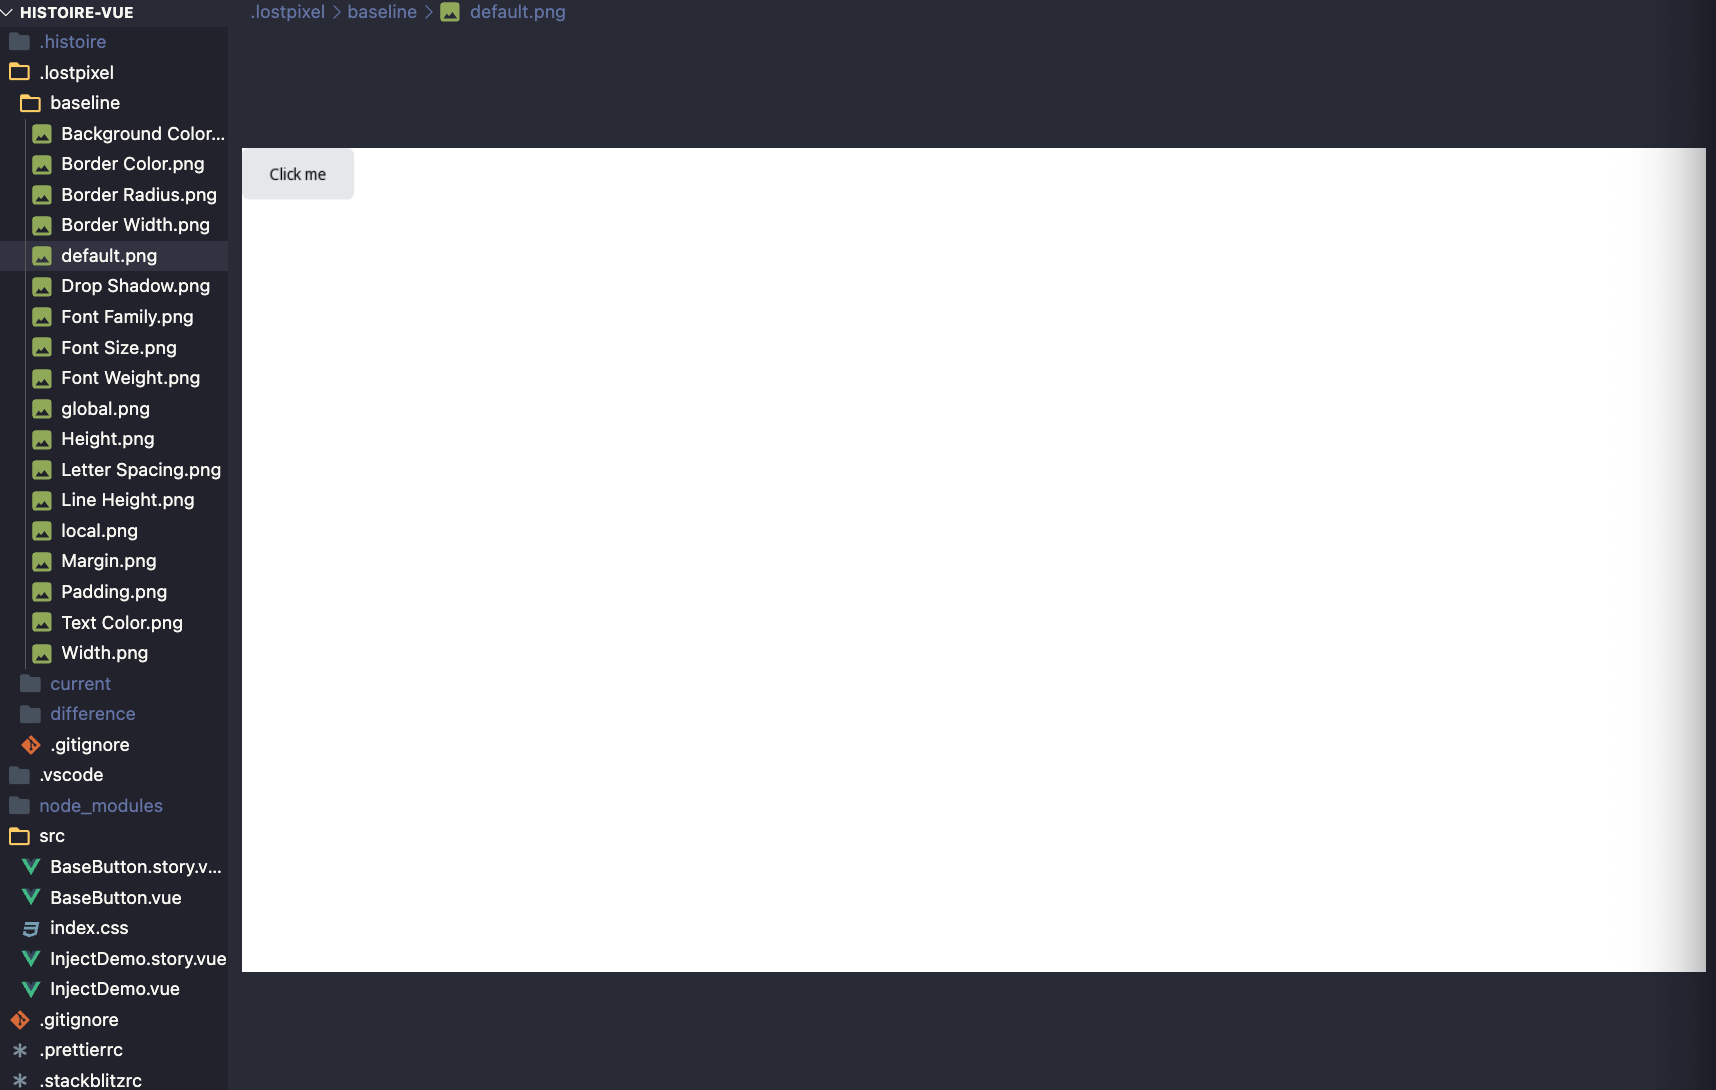
As you see after Lost Pixel successfully runs it exits with the error, because there were no baselines to compare with. There is also a new .lostpixel folder generated with all of your stories. By default Histoire includes your design system, in this case Tailwind, into the list of stories, so it is also included into visual testing here.
We can see that our image story is here!
Let's run our visual testing once again with npx lost-pixel docker. If you did not use docker option at the first run, omit it here as well to achieve the consistent results.
You can see that our visual testing is working like a Swiss watch! There are no visual regressions detected as we are rerunning against the baseline images that we created in previous run.
Comparison done!
⏱  Checking differences took 0.314 seconds
⏱  Lost Pixel run took 13.990 seconds
Let's imitate the visual regression and change the colour of the button in our story.
<script setup>
import { ref } from 'vue'
import { logEvent } from 'histoire/client'
import BaseButton from './BaseButton.vue'

const text = ref('Click me')
</script>

<template>
  <Story>
  // We changed the color to green right here 🍏🍏🍏
    <BaseButton color="green" @click="logEvent('click', $event)">
      {{ text }}
    </BaseButton>

    <template #controls>
      <HstText title="default slot" v-model="text" />
    </template>
  </Story>
</template>
Let's run our visual tests for the final time with:
npm run story:build && npx lost-pixel docker
The result is exactly like we expect it:
[1/18] Difference of 4162 pixels (0.45%) found. Difference image saved to: .lostpixel/difference/default.png (default)
...
Comparison done!
👋 Exiting process with 1 found differences & 0 baselines to update
In our .lost-pixel folder we can see all the images from the run and as expected our current version of button is green and our baseline button is gray.

GitHub actions
To start running Lost Pixel on CI we need to create an action workflow file. Let's create .github folder, and place workflows folder inside. Inside workflows let's create vrt.yml file with the following contents:
jobs:
  build:
    runs-on: ubuntu-latest

    steps:
      - name: Checkout
        uses: actions/checkout@v3

      - name: Setup Node
        uses: actions/setup-node@v3
        with:
          node-version: 18.x
          cache: "npm"

      - name: Install dependencies
        run: npm install

      - name: Build Histoire
        run: npm run story:build

      - name: Lost Pixel
        uses: lost-pixel/[email protected]
This code checks out repository, installs dependencies, builds storybook & finally runs Lost Pixel. If there will be visual regressions the check will fail.
Whenever you make a change to your stories that should update the baselines - just run npx lost-pixel docker update. This will run lost-pixel in docker to make sure we eliminate inconsistencies in operating systems between your machine & CI, it will also update all of the visual snapshots in the baseline folder of .lost-pixel making your next CI run successful.
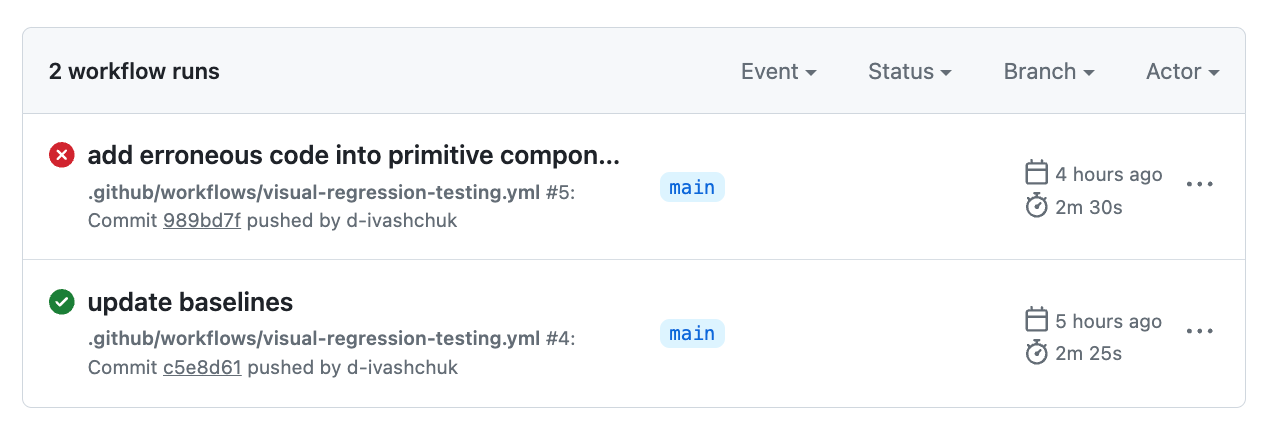
That's the result we are aiming for here for when you are pushing some code that changes your primitive components and influences other patterns down the dependency graph:
If you want to extend your Histoire visual tests & add your Vue or Svelte pages - it's super trivial with Lost Pixel as well, you can follow this tutorial that focuses on holistic tests to get a glimpse of the setup.

About Dima Ivashchuk
Hey, I'm - Dima the co-founder of Lost Pixel. I like modern frontends, building stuff on the internet, and educating others. I am committed to building the best open-source visual regression testing platform!
