Introduction to Holistic Visual Testing 🖼️
As front-end development continues to evolve, it's more important than ever to have a robust testing strategy in place to ensure that your applications look and function as expected. One of the most effective ways to do this is through visual regression testing, which allows you to catch and fix visual bugs before they reach production.
Holistic visual regression testing is an approach that aims to test the entire application, including both layout and interactions, as a whole.
In this example, we will set up a complex visual testing suite for our Next.js application. Here is the list of tools we will use:
-
Storybook
-
Playwright
-
GitHub actions
-
Lost Pixel Platform
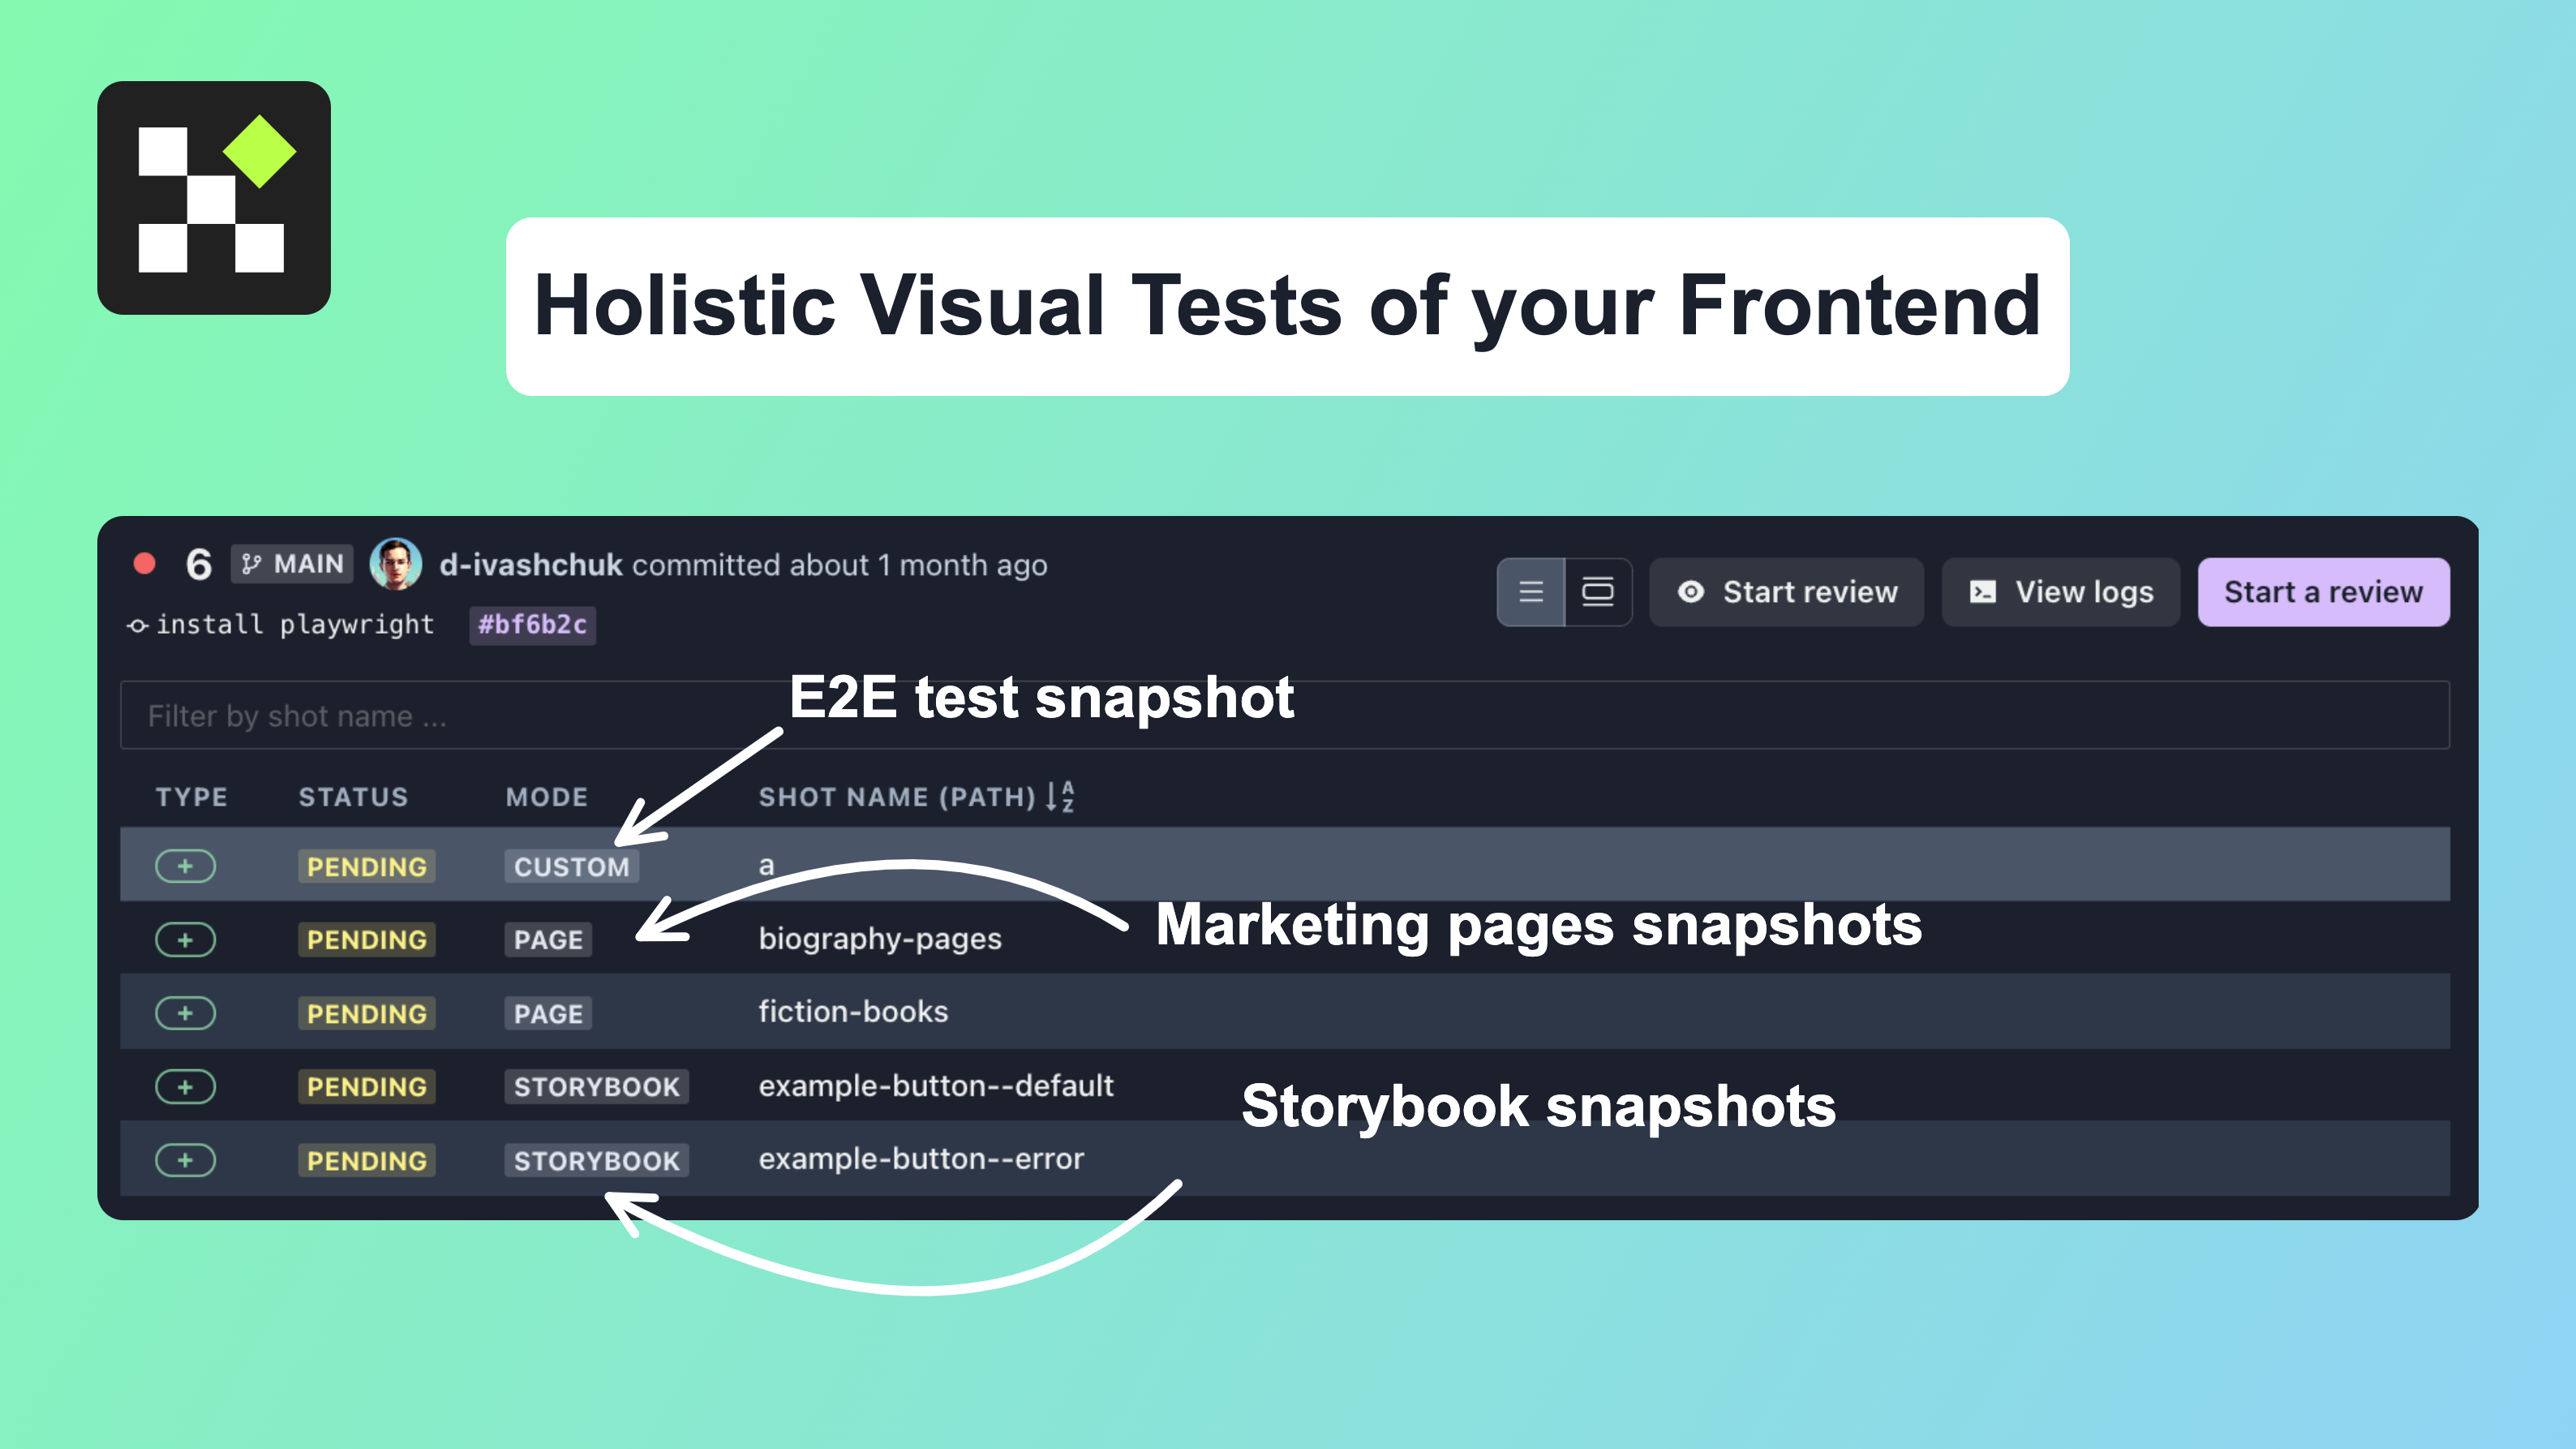
As the final result, we want to make sure that the following parts of our applications are looking the way they are intended to look:
-
Individual components - visual unit tests
-
Pages - visual integration tests
-
Results of playwright/cypress tests - visual e2e tests
Lost Pixel makes it easy to compose all of this in a single place to make the management of your visual testing a breeze. Here is the final version of the code for the whole integration:
Here is the final version of the code on GitHub
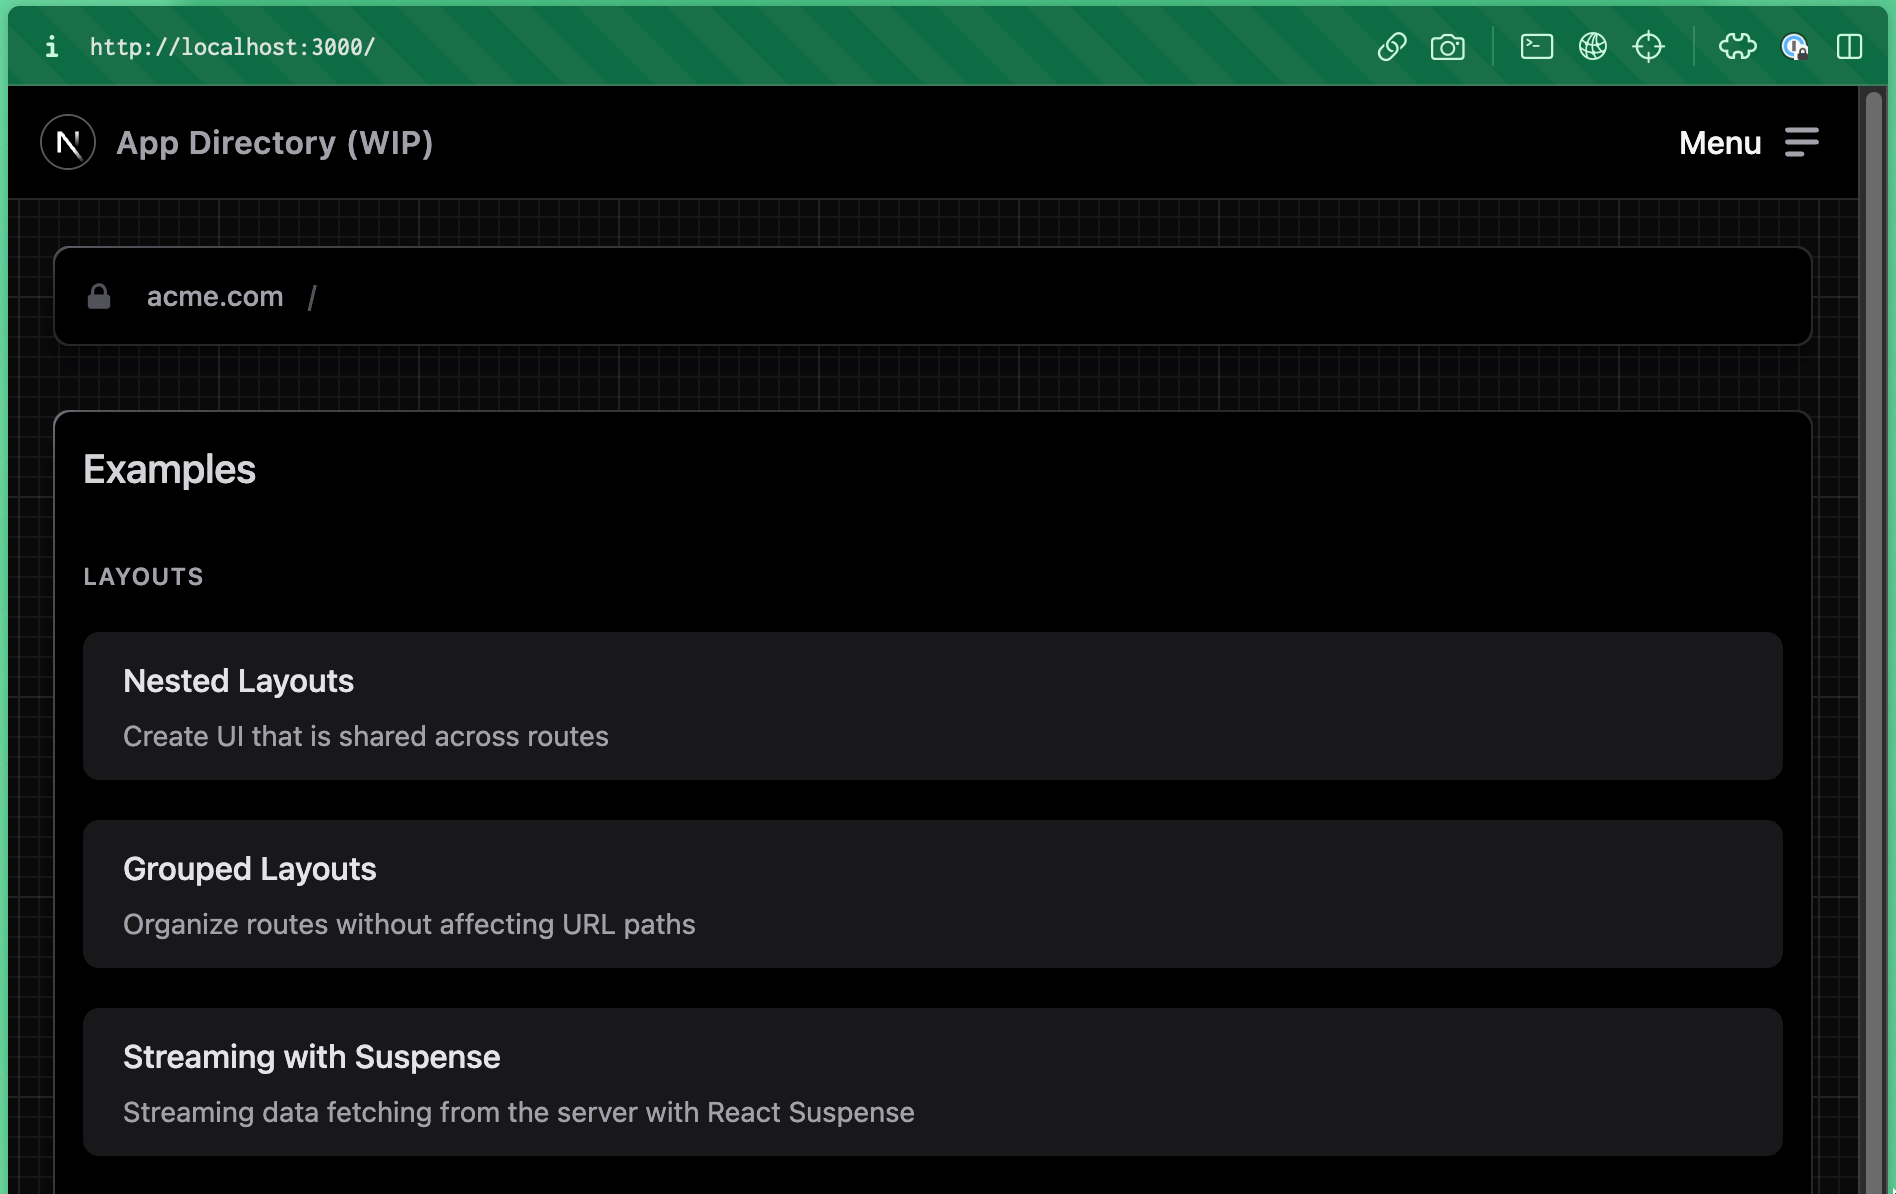
Setting up Next application 🔼
We will clone the app-playground repo from Next.js, it has rudimentary parts of the actual application, and that's precisely what we need.
git clone https://github.com/vercel/app-playground.git

pnpm install

pnpm dev
Visual unit tests 🖼️
We will use Storybook in combination with Lost Pixel to make sure our app components are looking the way we expect them to look.
Let's install Storybook:
npx storybook@next init && pnpm install postcss-loader style-loader @storybook/addon-postcss
Inside .storybook/main.js we need to make Storybook & Tailwind.css play well with each other :D
const path = require('path');
module.exports = {
  stories: ['../stories/**/*.mdx', '../stories/**/*.stories.@(js|jsx|ts|tsx)'],
  addons: [
    '@storybook/addon-links',
    '@storybook/addon-essentials',
    '@storybook/addon-interactions',
    {
      name: '@storybook/addon-postcss',
      options: {
        cssLoaderOptions: {
          // When you have splitted your css over multiple files
          // and use @import('./other-styles.css')
          importLoaders: 1,
        },
        postcssLoaderOptions: {
          // When using postCSS 8
          implementation: require('postcss'),
        },
      },
    },
  ],
  framework: {
    name: '@storybook/nextjs',
    options: {},
  },
  docs: {
    autodocs: 'tag',
  },
};
Inside .storybook/preview.js we need to import tailwind styles on top of the file:
import '../styles/globals.css';

export const parameters = {
  actions: { argTypesRegex: '^on[A-Z].*' },
  controls: {
    matchers: {
      color: /(background|color)$/i,
      date: /Date$/,
    },
  },
};
Inside stories/Button.stories.tsx let's write our first story that we will use in tests:
import type { Meta, StoryObj } from '@storybook/react';
import React from 'react';

import Button from 'ui/Button';

// More on how to set up stories at: https://storybook.js.org/docs/7.0/react/writing-stories/introduction
const meta: Meta<typeof Button> = {
  title: 'Example/Button',
  component: Button,
};

export default meta;
type Story = StoryObj<typeof Button>;

export const Default: Story = {
  render: () => <Button kind="default">Default</Button>,
};

export const Error: Story = {
  render: () => <Button kind="error">Error</Button>,
};
Now we run our storybook to see our components displayed in an isolated manner:
npm run storybook

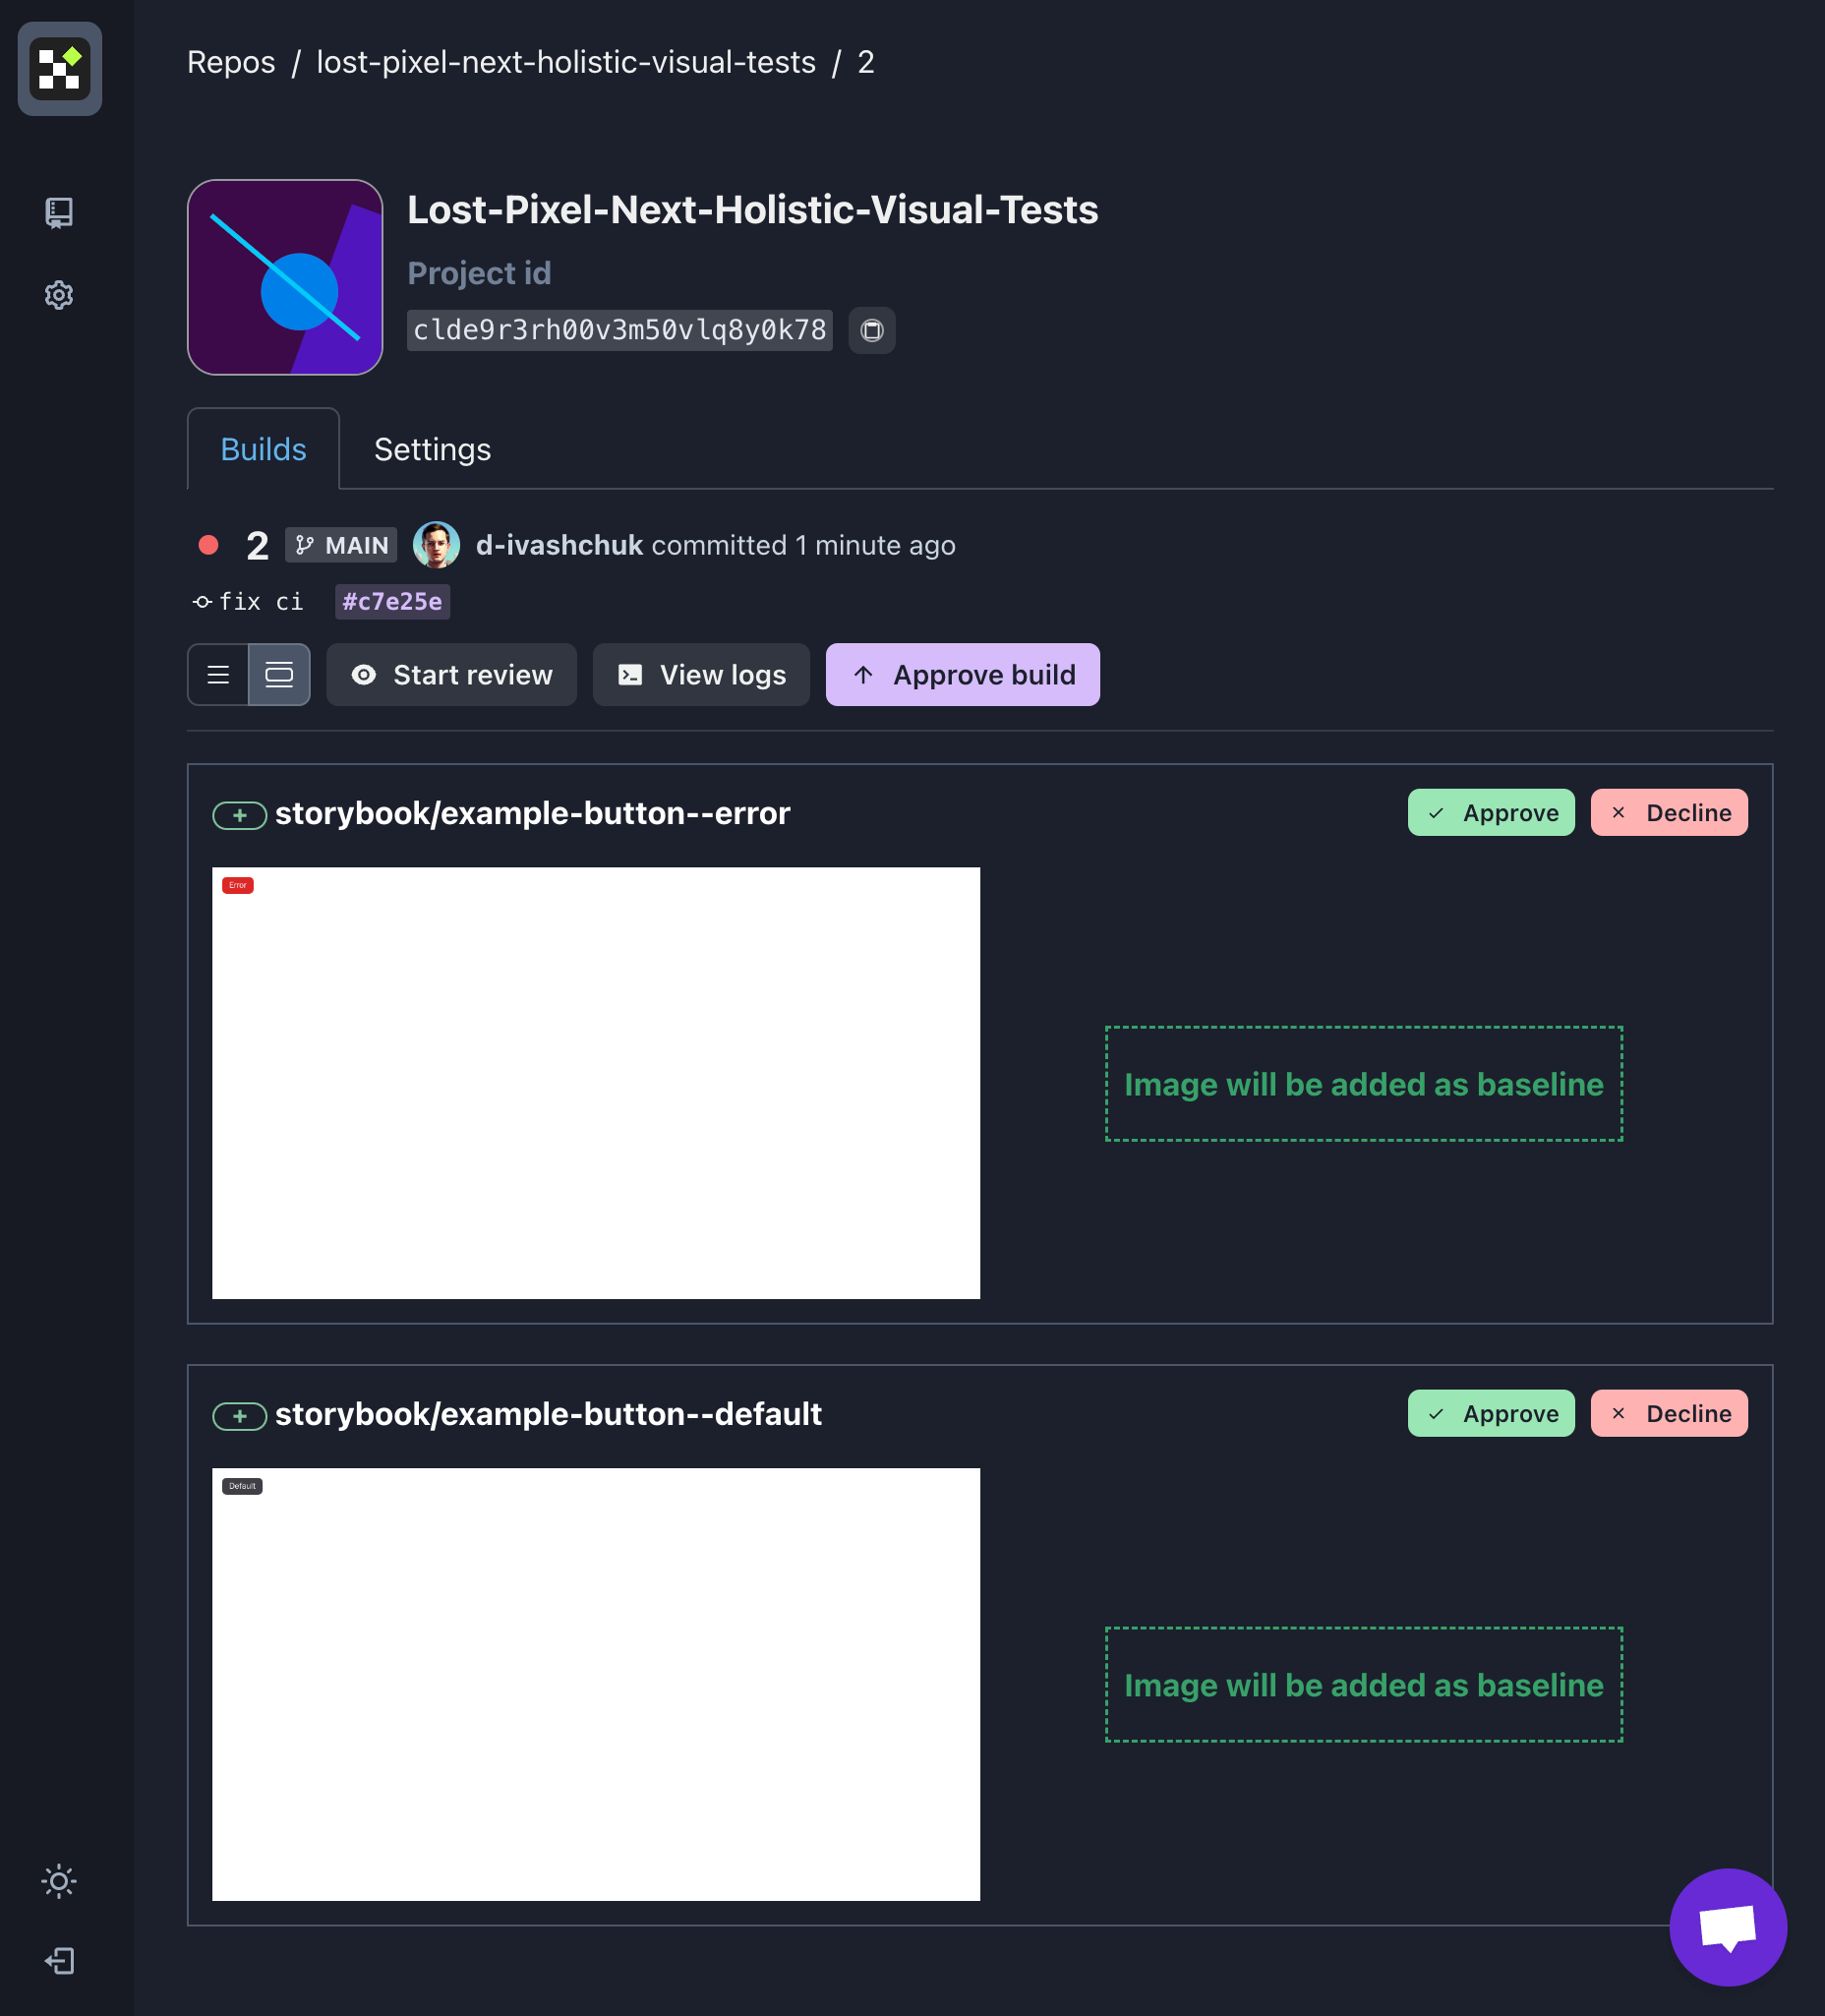
Our stories will serve as the basis for the unit visual tests. Let's integrate this first step with Lost Pixel Platform to see how it will work there.
Lost Pixel Platform ⚙️
You can use the quickstart documentation from lost-pixel.com to set up the platform to work with your repositories via installing the official Lost Pixel GitHub app. In this guide, we will focus on setting up the right configuration, assuming you have done the platform setup already!
You can use Lost Pixel Onboarding to easily set up the project by copying & pasting the respective files.
In our lostpixel.config.ts at the root of our project, let's define the tests for Storybook
import { CustomProjectConfig } from 'lost-pixel';

export const config: CustomProjectConfig = {
  storybookShots: {
    storybookUrl: './storybook-static',
  },

  lostPixelProjectId: 'clde9r3rh00v3m50vlq8y0k78',
  apiKey: process.env.LOST_PIXEL_API_KEY,
};
In our .github/workflows/vrt.yml at the root of our project let's define our CI/CD job:
on: [push]

jobs:
  build:
    runs-on: ubuntu-latest
    name: Lost Pixel

    steps:
      - name: Checkout
        uses: actions/checkout@v3

      - name: Setup Node
        uses: actions/setup-node@v3
        with:
          node-version: 16.x

      - name: Install dependencies
        run: npm install --legacy-peer-deps

      - name: Build Storybook
        run: npm run build-storybook

      - name: Lost Pixel
        uses: lost-pixel/[email protected]
        env:
          LOST_PIXEL_API_KEY: ${{ secrets.LOST_PIXEL_API_KEY }}
With this simple setup, we are already covering the visual unit tests 🙌🏼
Let's make it really holistic now!
Visual integration tests 🖼️ ↔️ 🖼️
Sometimes we care not only about how our components will be used in isolation but also about how they will look on the page when they are combined with a plethora of other components & styles. Let's explore how we can easily expand our initial setup to monitor our pages continuously!
Let's extend our lostpixel.config.ts to include our page shots.
import { CustomProjectConfig } from 'lost-pixel';

export const config: CustomProjectConfig = {
  storybookShots: {
    storybookUrl: './storybook-static',
  },
  pageShots: {
    pages: [
      { path: '/layouts/books/fiction', name: 'fiction-books' },
      { path: '/layouts/books/biography', name: 'biography-pages' },
    ],
    baseUrl: 'http://172.17.0.1:3000',
  },
  lostPixelProjectId: 'clde9r3rh00v3m50vlq8y0k78',
  apiKey: process.env.LOST_PIXEL_API_KEY,
};
We also need to extend .github/workflows/vrt.yml to build & run our Next.js app so we can access pages in Lost Pixel:
on: [push]

jobs:
  build:
    runs-on: ubuntu-latest
    name: Lost Pixel

    steps:
      - name: Checkout
        uses: actions/checkout@v3

      - name: Setup Node
        uses: actions/setup-node@v3
        with:
          node-version: 16.x

      - name: Install dependencies
        run: npm install --legacy-peer-deps

      - name: Build Storybook
        run: npm run build-storybook

      - name: Build Next app
        run: npm run build

      - name: Run Next app
        run: npm run start &

      - name: Lost Pixel
        uses: lost-pixel/[email protected]
        env:
          LOST_PIXEL_API_KEY: ${{ secrets.LOST_PIXEL_API_KEY }}
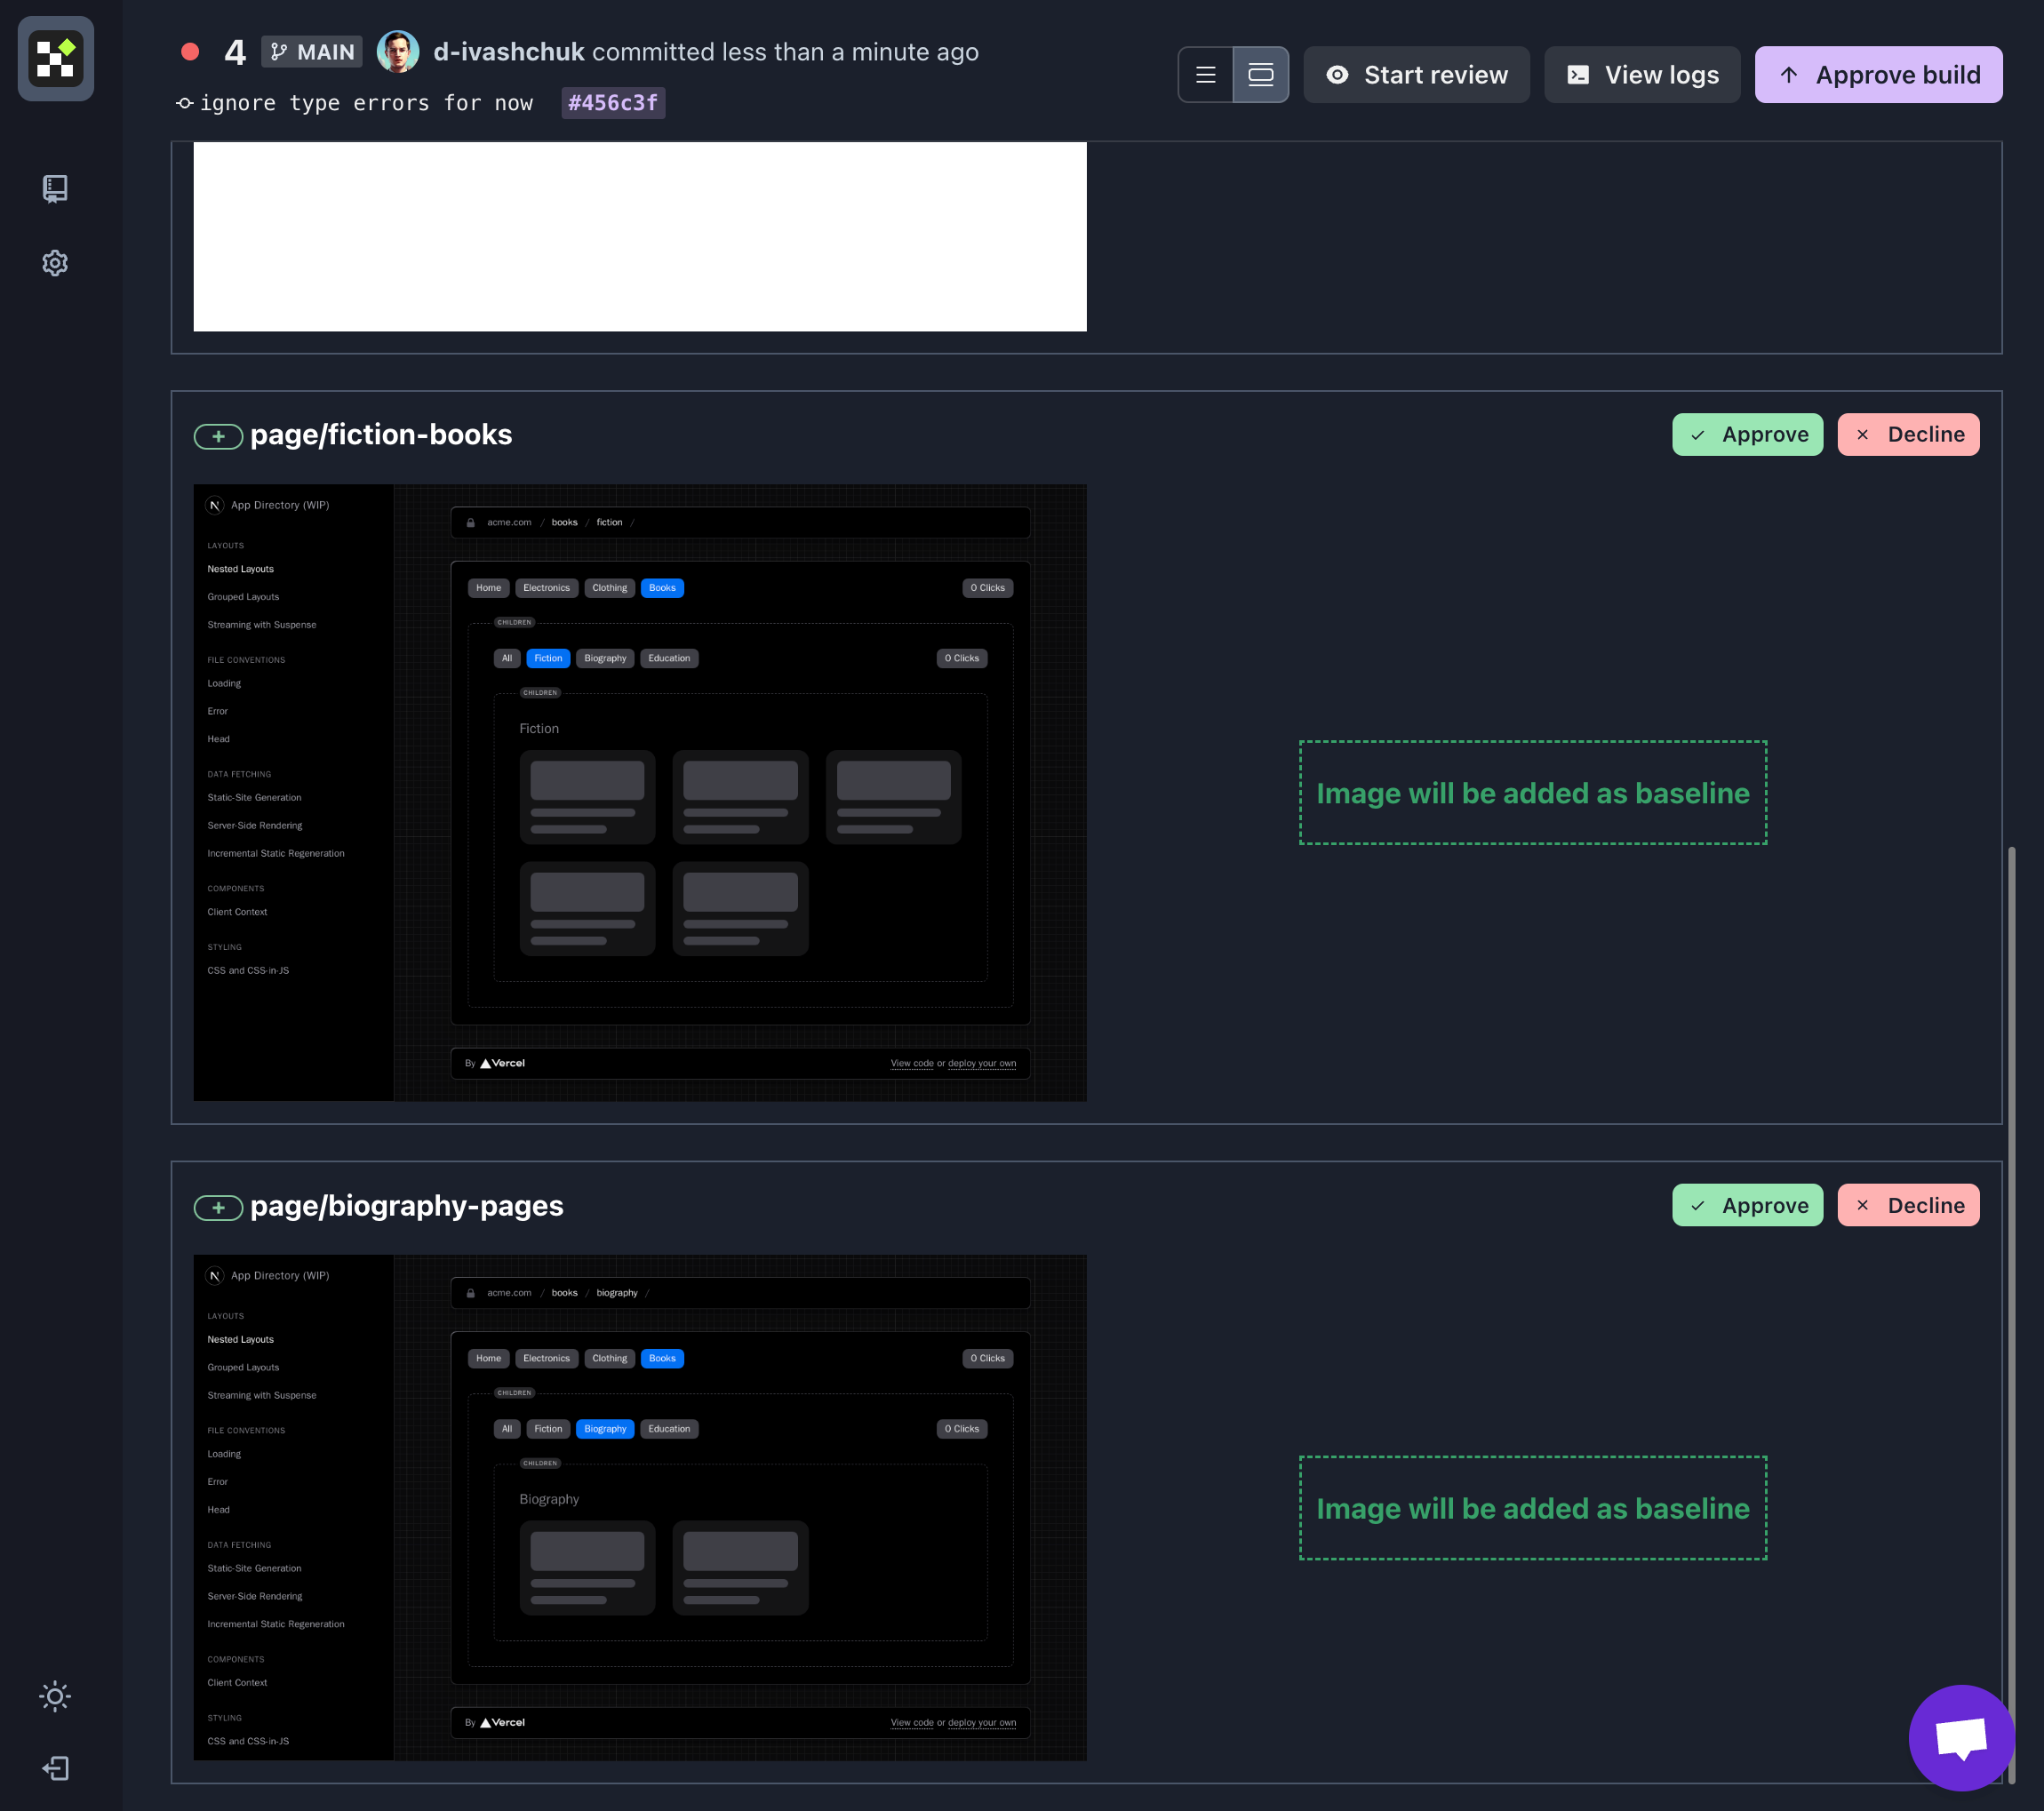
Now we are talking 🚀 Our visual tests are covering not only unit parts with individual components but also the integration part where we are making the screenshots for the whole pages.
Let's make it an ultimate setup with a magic flavour of the feature of Lost Pixel called custom shots 🪄✨✨✨
Visual E2E tests 🖼️ ⚙️ 🖼️ ⚙️ 🖼️
What if I told you that on any given CI run, you can create the screenshots using your logic & they will be available immediately on Lost Pixel Platform for the visual regression testing? Enter custom shots 📦
We will be using Playwright to interact with the page & make sure that after some set of interactions, we are always looking at the same UI.
npm install --save-dev @playwright/test
Let's also extend our package.json with test:e2e command:
...
"scripts": {
  "dev": "next dev",
  "build": "next build",
  "start": "next start",
  "test:e2e": "playwright test",
}
Now we will create our E2E test that will not do much, but will give you a good understanding of how you could integrate Lost Pixel into any test like this!
In e2e/example.spec.ts :
import { test } from '@playwright/test';

test('lost-pixel e2e', async ({ page }) => {
  // Perform some action on the page, like clicking the button.
  // 📒 http://172.17.0.1:3000 is already fit for GitHub action runtime
  await page.goto('http://172.17.0.1:3000/context');
  await page.click('data-test-id=context-click-counter');
  await page.click('data-test-id=context-click-counter');
  // Make a shot for Lost Pixel to test
  // 📒 Path is arbitrary, but I advise you to store all of the custom shots in a single folder, e.g. lost-pixel.
  await page.screenshot({ path: 'lost-pixel/a.png', fullPage: true });
});
Our ContextClickCounter component gets a new data-test-id, so the code above works:
      <button
        // Here is the important part
        data-test-id="context-click-counter"
        onClick={() => setCount(count + 1)}
        className="rounded-lg bg-gray-700 px-3 py-1 text-sm font-medium tabular-nums text-gray-100 hover:bg-gray-500 hover:text-white"
      >
        {count} Clicks
      </button>
Now we are ready to integrate our E2E with Lost Pixel! Let's extend our lostpixel.config.ts to include our custom shots.
import { CustomProjectConfig } from 'lost-pixel';

export const config: CustomProjectConfig = {
  storybookShots: {
    storybookUrl: './storybook-static',
  },
  pageShots: {
    pages: [
      { path: '/layouts/books/fiction', name: 'fiction-books' },
      { path: '/layouts/books/biography', name: 'biography-pages' },
    ],
    baseUrl: 'http://172.17.0.1:3000',
  },
  customShots: {
    // 📒 currentShotsPath should be matching the one above from playwright test
    currentShotsPath: './lost-pixel',
  },
  lostPixelProjectId: 'clde9r3rh00v3m50vlq8y0k78',
  apiKey: process.env.LOST_PIXEL_API_KEY,
};
And finally, we extend our GitHub Action declaration file by running Playwright tests:
on: [push]

jobs:
  build:
    runs-on: ubuntu-latest
    name: Lost Pixel

    steps:
      - name: Checkout
        uses: actions/checkout@v3

      - name: Setup Node
        uses: actions/setup-node@v3
        with:
          node-version: 16.x

      - name: Install dependencies
        run: npm install --legacy-peer-deps

      - name: Build Storybook
        run: npm run build-storybook

      - name: Build Next app
        run: npm run build

      - name: Run Next app
        run: npm run start &

      - name: Playwright tests
        run: npx playwright install --with-deps && npm run test:e2e

      - name: Lost Pixel
        uses: lost-pixel/[email protected]
        env:
          LOST_PIXEL_API_KEY: ${{ secrets.LOST_PIXEL_API_KEY }}
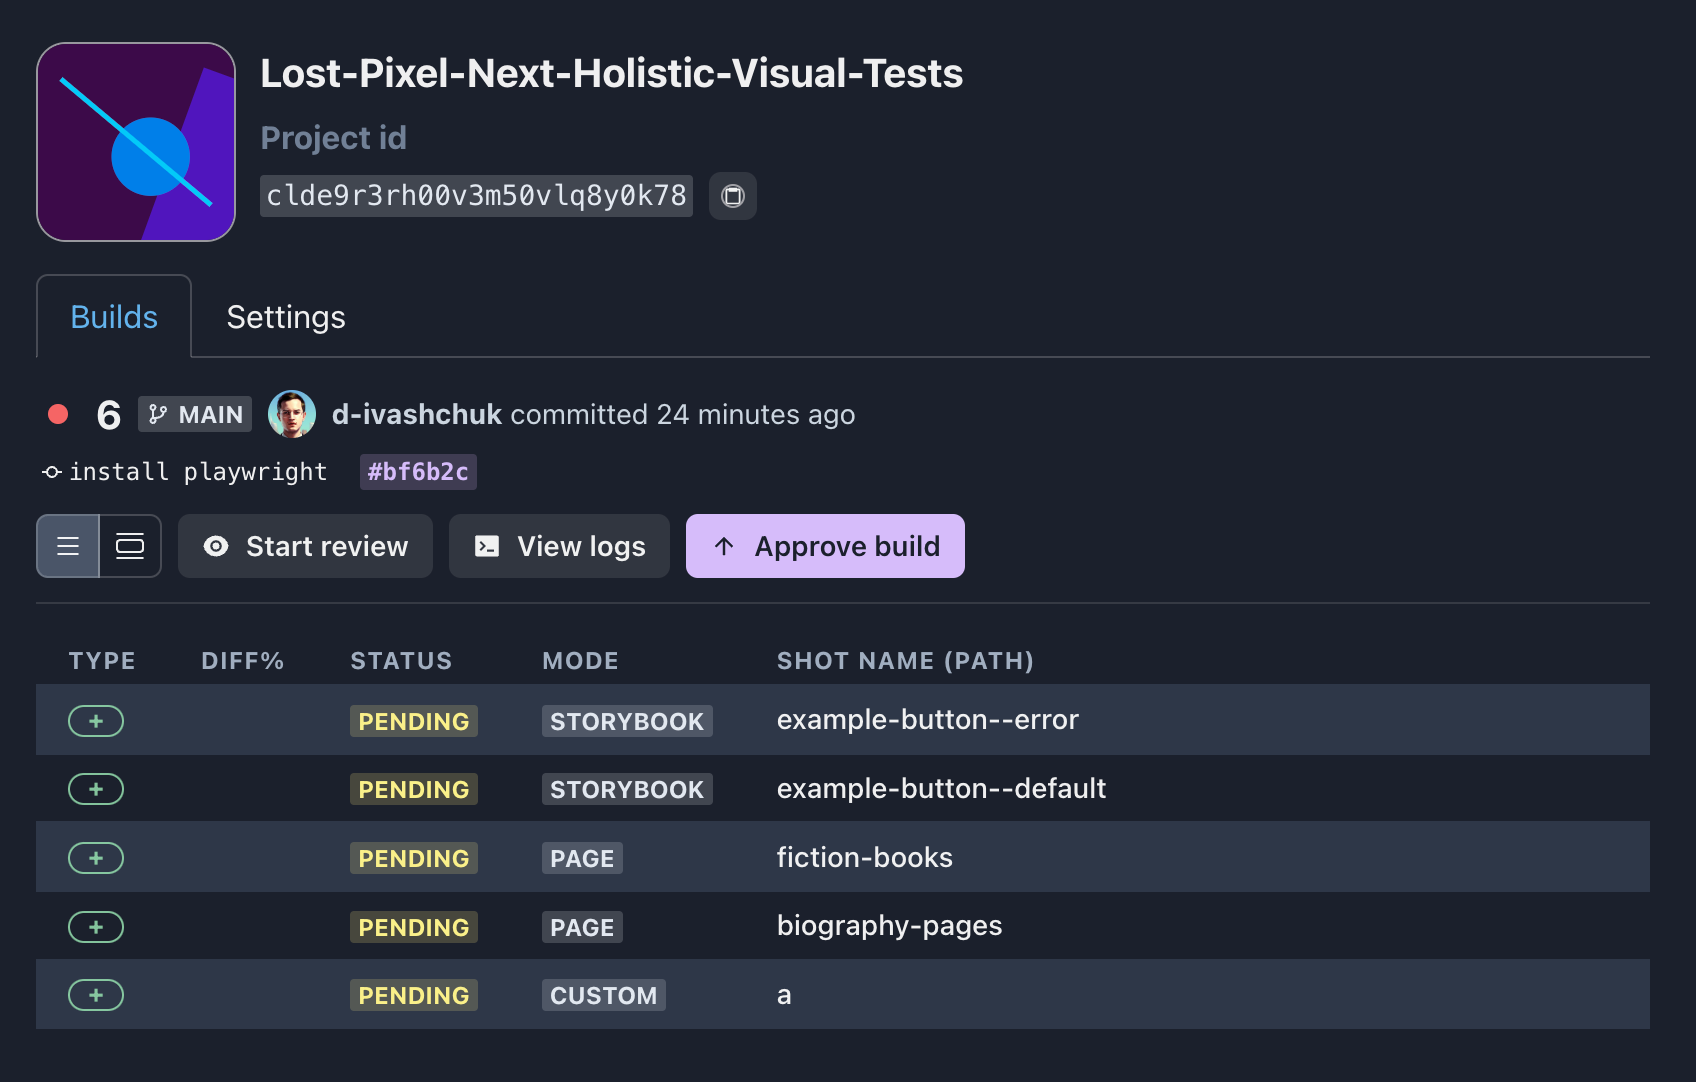
After Lost Pixel Platform runs this time, you should see something similar to this:
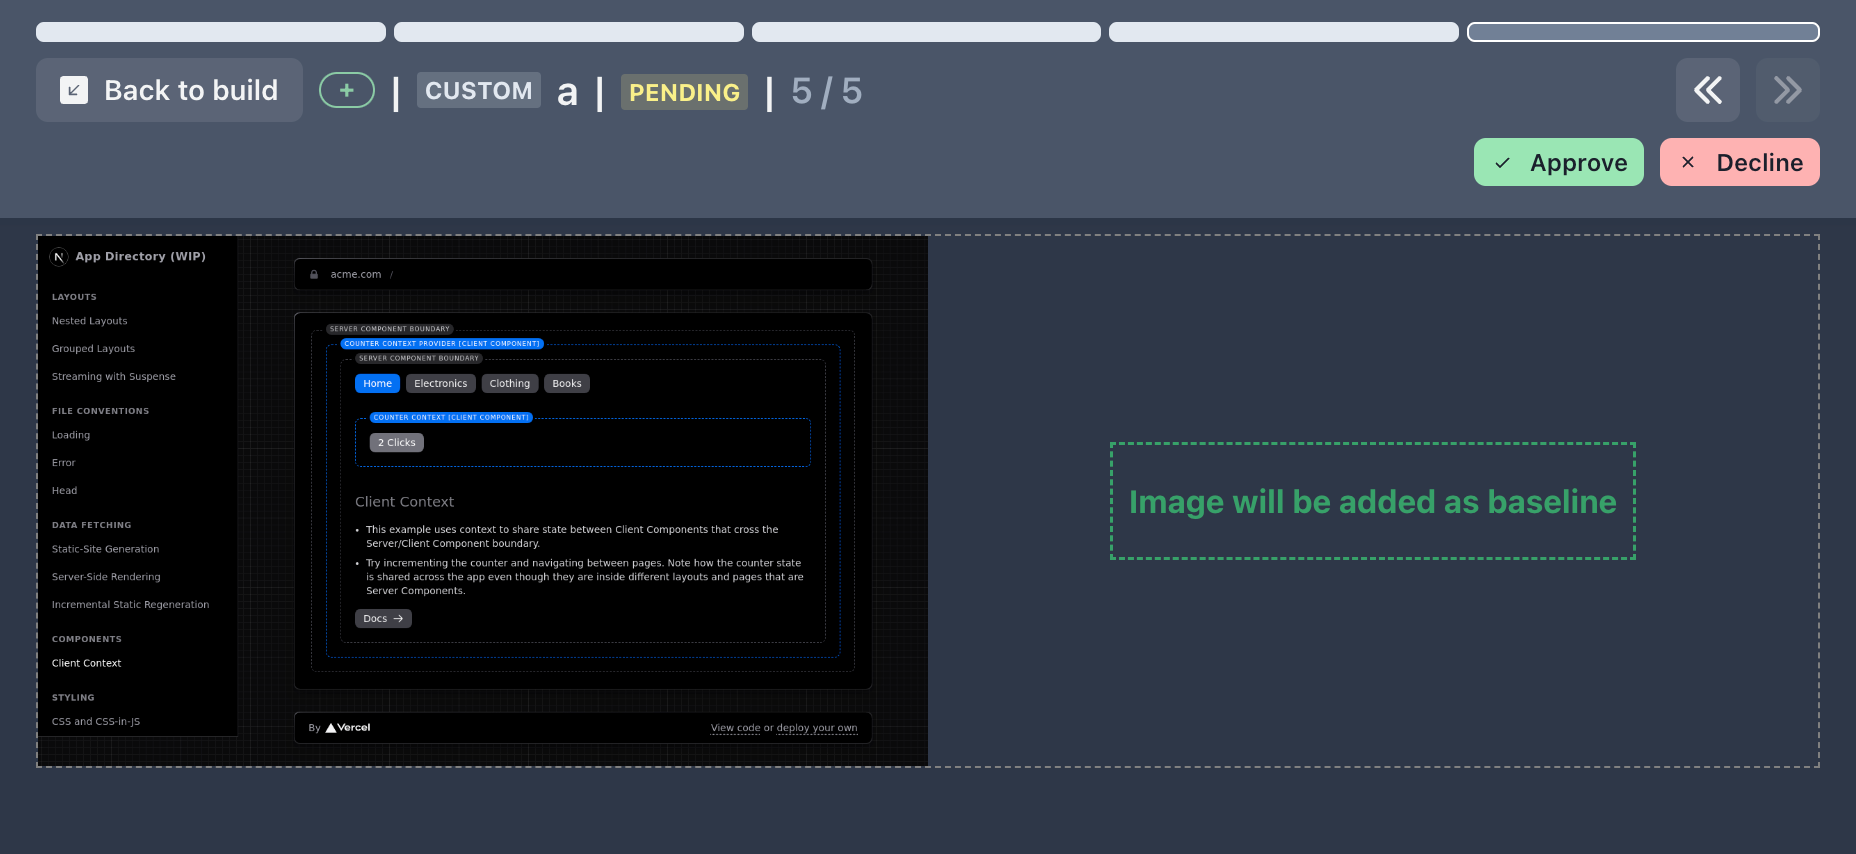
After interacting with our page & clicking the button two times, we made a screenshot of a page to test visually. Sometimes it's very useful because apart from asserting the presence or absence of some elements on the page that E2E tests traditionally rely on, the layout could be broken after a particular interaction and here visual regression tests will catch this for us.
Summary 🔼
We have built a holistic visual testing framework over an existing Next.js application using the tools suitable for every task: Storybook for visual unit tests, Pages for visual integration tests & Playwright for visual E2E tests. We have use GitHub Actions to make sure our setup runs continuously on every push. Finally, we have used the Lost Pixel Platform to manage our visual tests in one central place & notify us whenever visual regression is found.
If you liked the read and enjoyed setting up your visual tests, you might as well like our Visual Regression Testing Discord. There you can find help with any issues, chat about your setup & discuss the good practices for visual tests.

About Dima Ivashchuk
Hey, I'm - Dima the co-founder of Lost Pixel. I like modern frontends, building stuff on the internet, and educating others. I am committed to building the best open-source visual regression testing platform!