
Why testing PDFs 🗃️
Visual regression testing for PDFs is vital in today's digital world, ensuring document accuracy and consistency. Organizations can detect unintended visual differences by implementing PDF visual regression testing, maintaining quality, and enhancing user experience. This approach to PDF testing not only safeguards against errors but also strengthens client trust and preserves an organization's reputation. In this tutorial, we will learn how to test your PDFs generated by the Lost Pixel Platform, where you can test 7,000 PDFs each month for free.
The code for the result of this tutorial can be found here.
What is Lost Pixel Platform 🔎
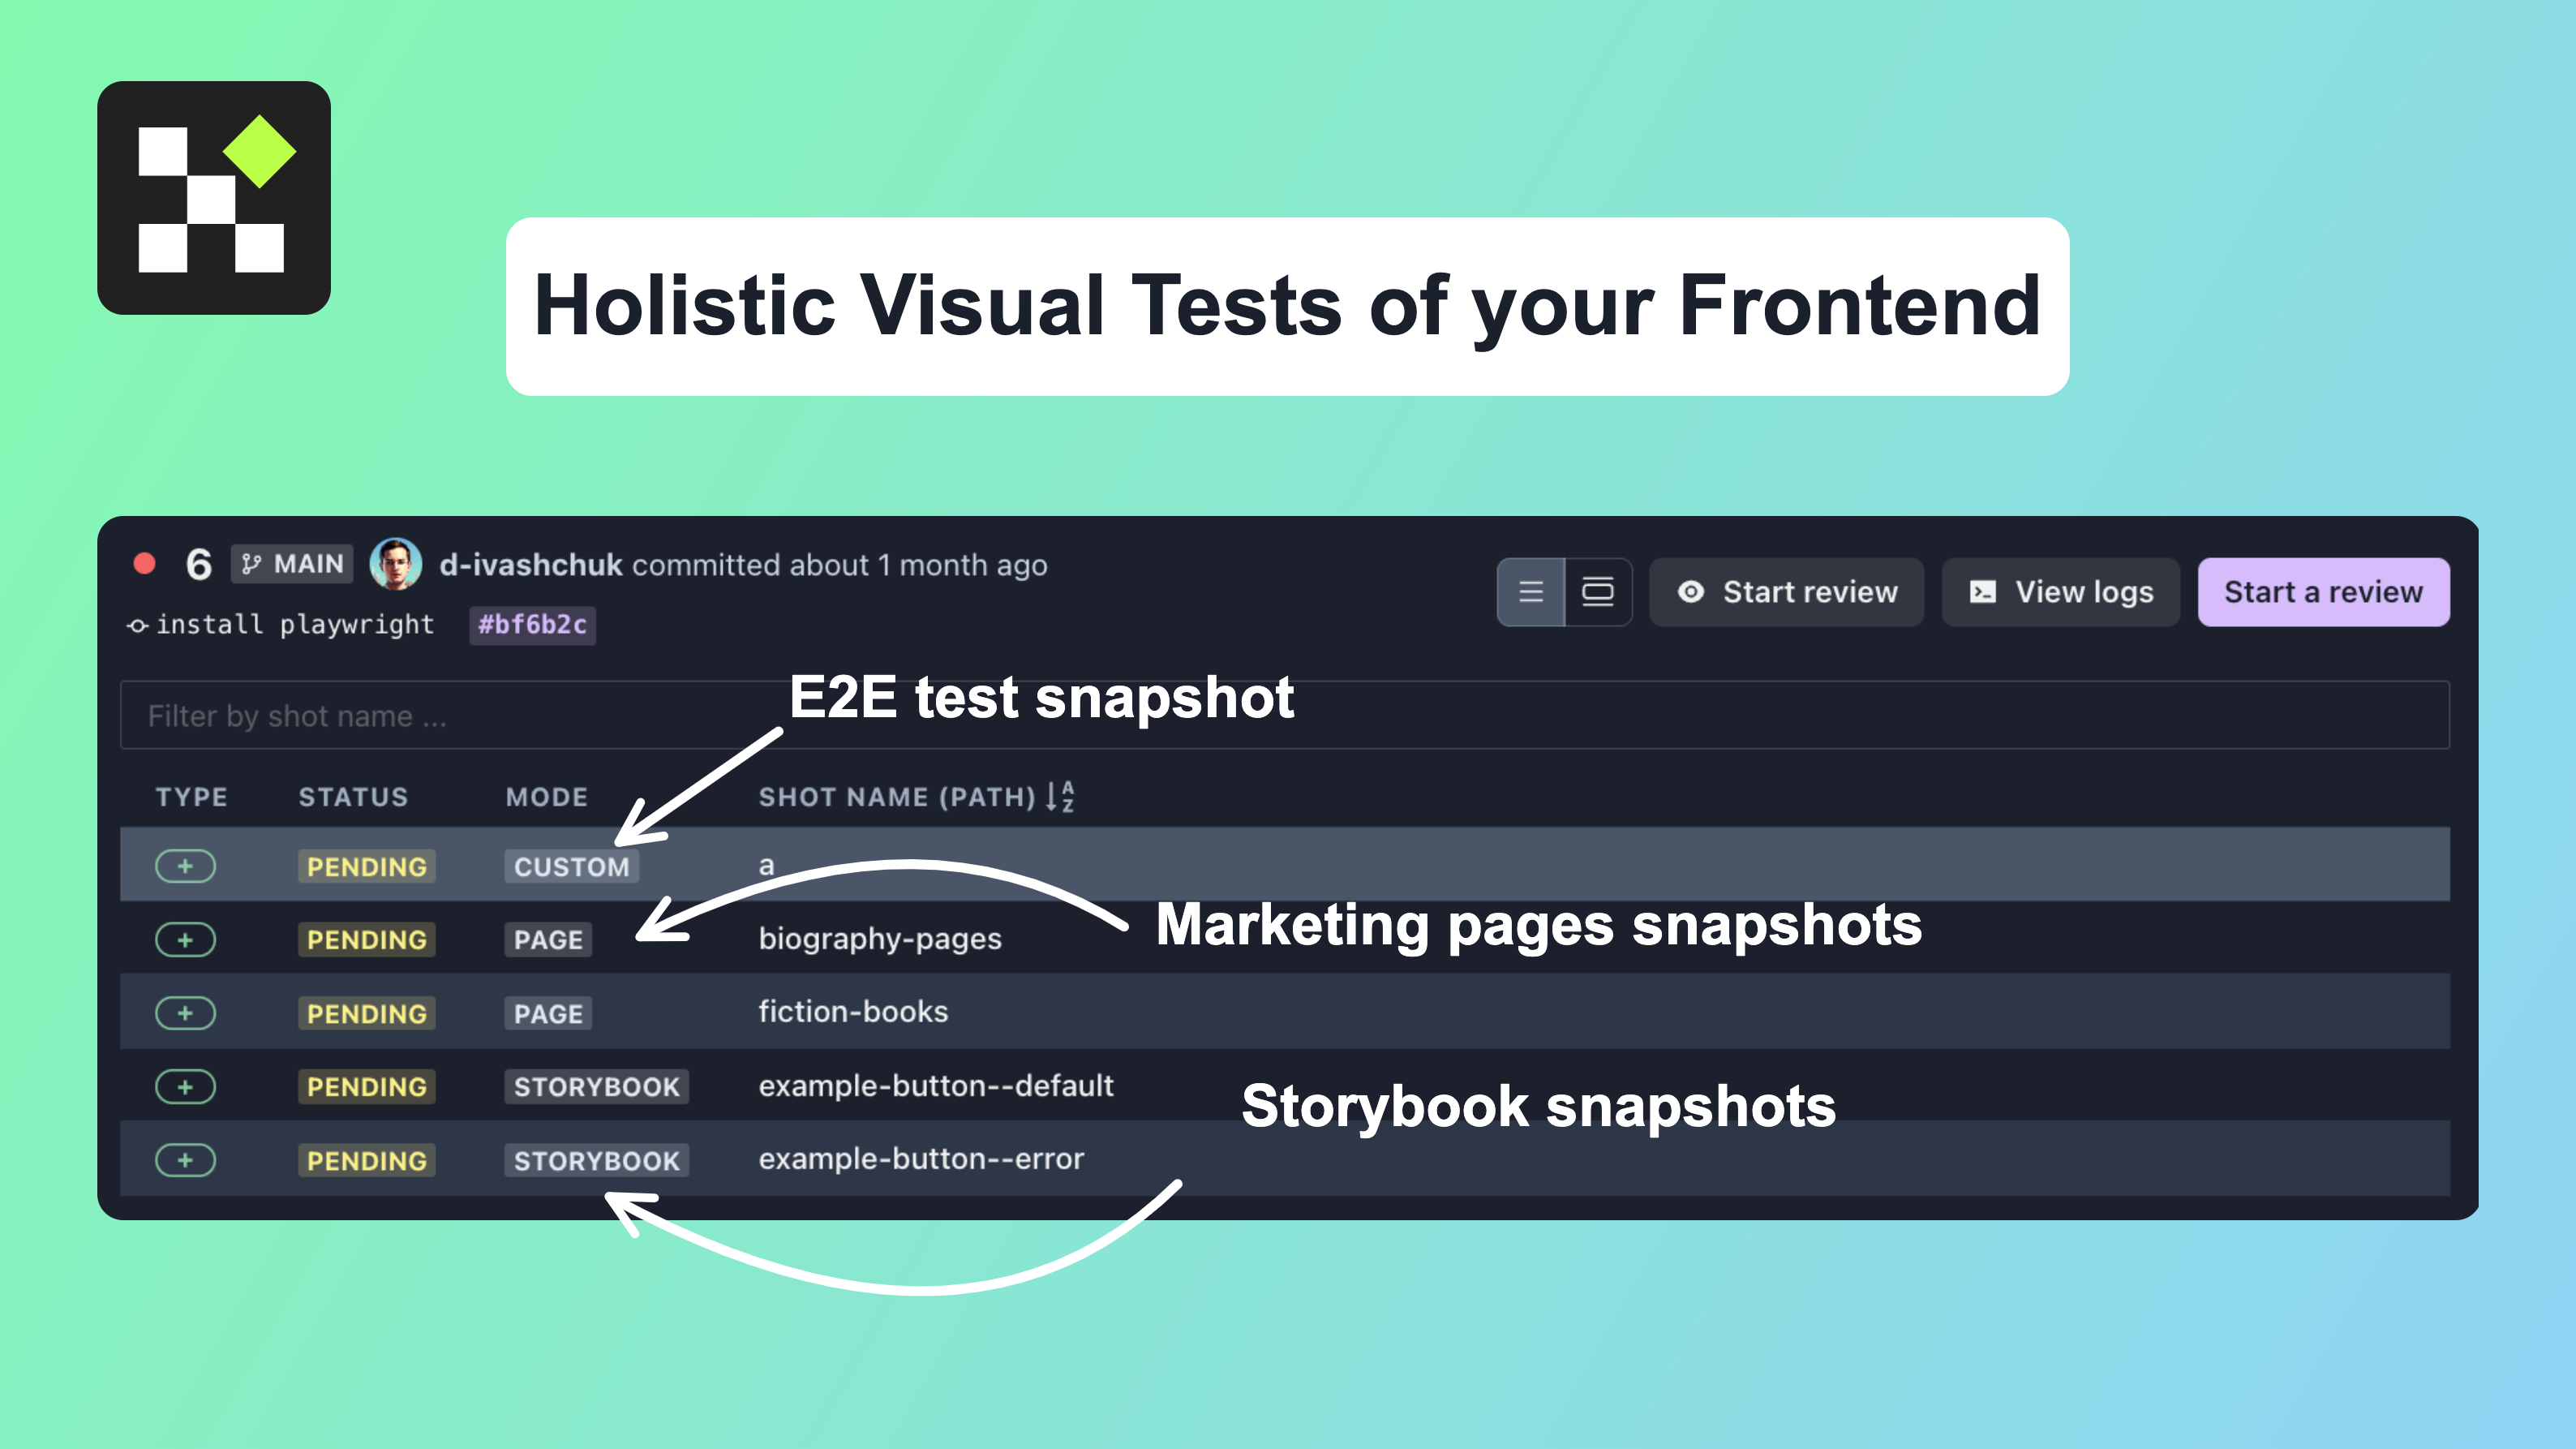
Lost Pixel Platform is a cloud-based visual regression testing platform that enables developers to test and validate the visual appearance of web pages and applications. It automates the testing process, helping to ensure that the visual integrity of the application is maintained. The platform captures screenshots of web pages and compares them to previous versions, allowing developers to identify and fix visual bugs quickly. It offers straight integration with GitHub & allows for easy collaboration between team members.
We will be utilizing the Custom Shots mode of Lost Pixel Platform to test our PDFs, let's jump straight into that.
Create PDF
We will be using react-pdf/renderer which has a lot of nice utilities to create our template & allow PDF generation:
import React from "react";
import ReactPDF, {
  Page,
  Text,
  View,
  Document,
  StyleSheet,
} from "@react-pdf/renderer";

type TemplateData = {
  companyName: string;
  companyPhone: string;
  companyEmail: string;
  receiptNumber: string;
  datePaid: string;
  paymentMethod: string;
  amount: string;
};

interface PDFProps {
  data: TemplateData;
}

const styles = StyleSheet.create({
  page: {
    backgroundColor: "white",
  },
  section: {
    margin: 10,
    padding: 10,
  },
  heading: {
    fontSize: 24,
    fontWeight: 600,
    color: "salmon",
    marginBottom: 8,
  },
  statement: {
    fontSize: 20,
    color: "#131925",
    lineHeight: 1.4,
    marginBottom: 4,
  },
  divider: {
    width: "100%",
    height: 1,
    backgroundColor: "#999999",
    margin: "24px 0 24px 0",
  },
  paragraph: {
    fontSize: 12,
    color: "#212935",
    lineHeight: 1.67,
  },
  columnParent: {
    flexDirection: "row",
    justifyContent: "space-between",
  },
  columnStart: {
    flex: 1,
  },
  columnEnd: {
    flex: 1,
    alignItems: "flex-end",
  },
});

const PDF = ({ data }: PDFProps) => {
  return (
    <Document>
      <Page size="A4" style={styles.page}>
        <View style={styles.section}>
          <View style={styles.columnParent}>
            <View style={styles.columnStart}>
              <Text style={styles.heading}>{data.companyName}</Text>
              <Text style={styles.paragraph}>{data.companyPhone}</Text>
              <Text style={styles.paragraph}>{data.companyEmail}</Text>
            </View>
            <View style={styles.columnEnd}>
              <Text style={styles.heading}>Receipt</Text>
              <Text style={styles.paragraph}>
                Receipt number: {data.receiptNumber}
              </Text>
              <Text style={styles.paragraph}>Date paid: {data.datePaid}</Text>
              <Text style={styles.paragraph}>
                Payment method: {data.paymentMethod}
              </Text>
            </View>
          </View>
          <View style={styles.divider}></View>
          <View>
            <Text
              style={styles.statement}
            >{`${data.amount} paid on ${data.datePaid}`}</Text>
            <Text style={styles.paragraph}>Thank you for your business!</Text>
          </View>
        </View>
      </Page>
    </Document>
  );
};

export default async (data: TemplateData) => {
  return await ReactPDF.renderToStream(<PDF {...{ data }} />);
};
Our server to create actual PDF files will look like this(you can find the detailed explanation of the individual code chunks in the comments)
import express from "express";
import createTemplate from "./create-template";
import fs from "fs";
import { Readable } from "stream";
import { fromPath } from "pdf2pic";
import { stableDataExamples } from "./data";

const app = express();
app.use(express.json());
const port = 3000;

// use react pdf template & create a real PDF out of it

const savePDFToFile = async (pdfStream, fileName) => {
  const writeStream = fs.createWriteStream(fileName);
  const readable = new Readable().wrap(pdfStream);
  readable.pipe(writeStream);

  return new Promise((resolve, reject) => {
    writeStream.on("finish", resolve);
    writeStream.on("error", reject);
  });
};

// to test our PDFs for visual regressions we will need to get an image representation of them. This function will be responsible for converting PDF into PNG

const savePDFToPNG = async (pdfPath, pngFileName) => {
  try {
    const converter = fromPath(pdfPath, {
      density: 100, // output pixels per inch
      saveFilename: pngFileName.split(".")[0], // output file name
      savePath: "./lost-pixel", // output file location
      format: "png", // output file format
      //This accounts to A4 size
      width: 2480,
      height: 3508,
    });

    const data = await converter(1);
    console.log(`Saved PNG: ./lost-pixel/${pngFileName}`);
  } catch (error) {
    console.error("Error converting PDF to PNG:", error);
  }
};

// to simplify the PDF example and give a proper attention to viusal tests we will limit the setup to the following. Whenever we execute npm run test command we will run the following code that will generate PDFs & respective PNGs

const server = app.listen(port, async () => {
  console.log(`The sample PDF app is running on port ${port}.`);

  for (let i = 0; i < stableDataExamples.length; i++) {
    const data = stableDataExamples[i];
    console.log(`Generating PDF with stable data example ${i + 1}: `, data);

    const pdfStream = await createTemplate(data);
    const pdfFileName = `stable-data-example-${i + 1}-export.pdf`;
    await savePDFToFile(pdfStream, pdfFileName);
    console.log(
      `Saved PDF with stable data example ${i + 1} to the file system.`
    );

    await savePDFToPNG(pdfFileName, `stable-data-example-${i + 1}-export.png`);

    server.close();
  }
});
Lost Pixel setup ⚙️
Lost Pixel Config
Use the quickstart documentation from lost-pixel.com to set up the platform to work with your repositories via installing the official Lost Pixel GitHub app. We will go straight ahead into the setup for the tests!
lostpixel.config.js setup is super minimal, we need to create this file at the root of the repository with the following contents:
module.exports = {
  customShots: {
    currentShotsPath: "./lost-pixel",
  },
  lostPixelProjectId: "clgqfqifx0is5k80ef9a72utq",
  apiKey: process.env.LOST_PIXEL_API_KEY,
};
This will ensure that we are using Lost Pixel in custom mode and will point it to the right project on the Lost Pixel Platform via its id that you should have already created in the previous step!
GitHub action
You could you the CI/CD pipeline of your liking, we will be using GitHub Actions in this tutorial. Let's create .github/workflows/vrt.yml at the root of our project with the following contents:
on: [push]

jobs:
  build:
    runs-on: ubuntu-latest
    name: Lost Pixel

    steps:
      - name: Checkout
        uses: actions/checkout@v3

      - name: Setup Node
        uses: actions/setup-node@v3
        with:
          node-version: 16.x

      - name: Install dependencies
        run: npm install --legacy-peer-deps

      - name: Install ImageMagick
        run: sudo apt-get install -y imagemagick graphicsmagick

      - name: Create lost-pixel folder
        run: mkdir lost-pixel

      - name: Run test script
        run: npm run test

      - name: Lost Pixel
        uses: lost-pixel/[email protected]
        env:
          LOST_PIXEL_API_KEY: ${{ secrets.LOST_PIXEL_API_KEY }}
This will ensure that on every commit, we are running our CI flow consisting of installing dependencies and image utils that we need to convert PDF into PNG. After that, we create the lost-pixel directory where we will expect our custom shots and create the shots by running the test script: "test": "tsc --build && node build/index.js" . Finally, we run the Lost Pixel tests!
Lost Pixel Platform 🖼️
After committing the code and pushing it to the remote, we should in almost no time see the results of the test run on the platform:
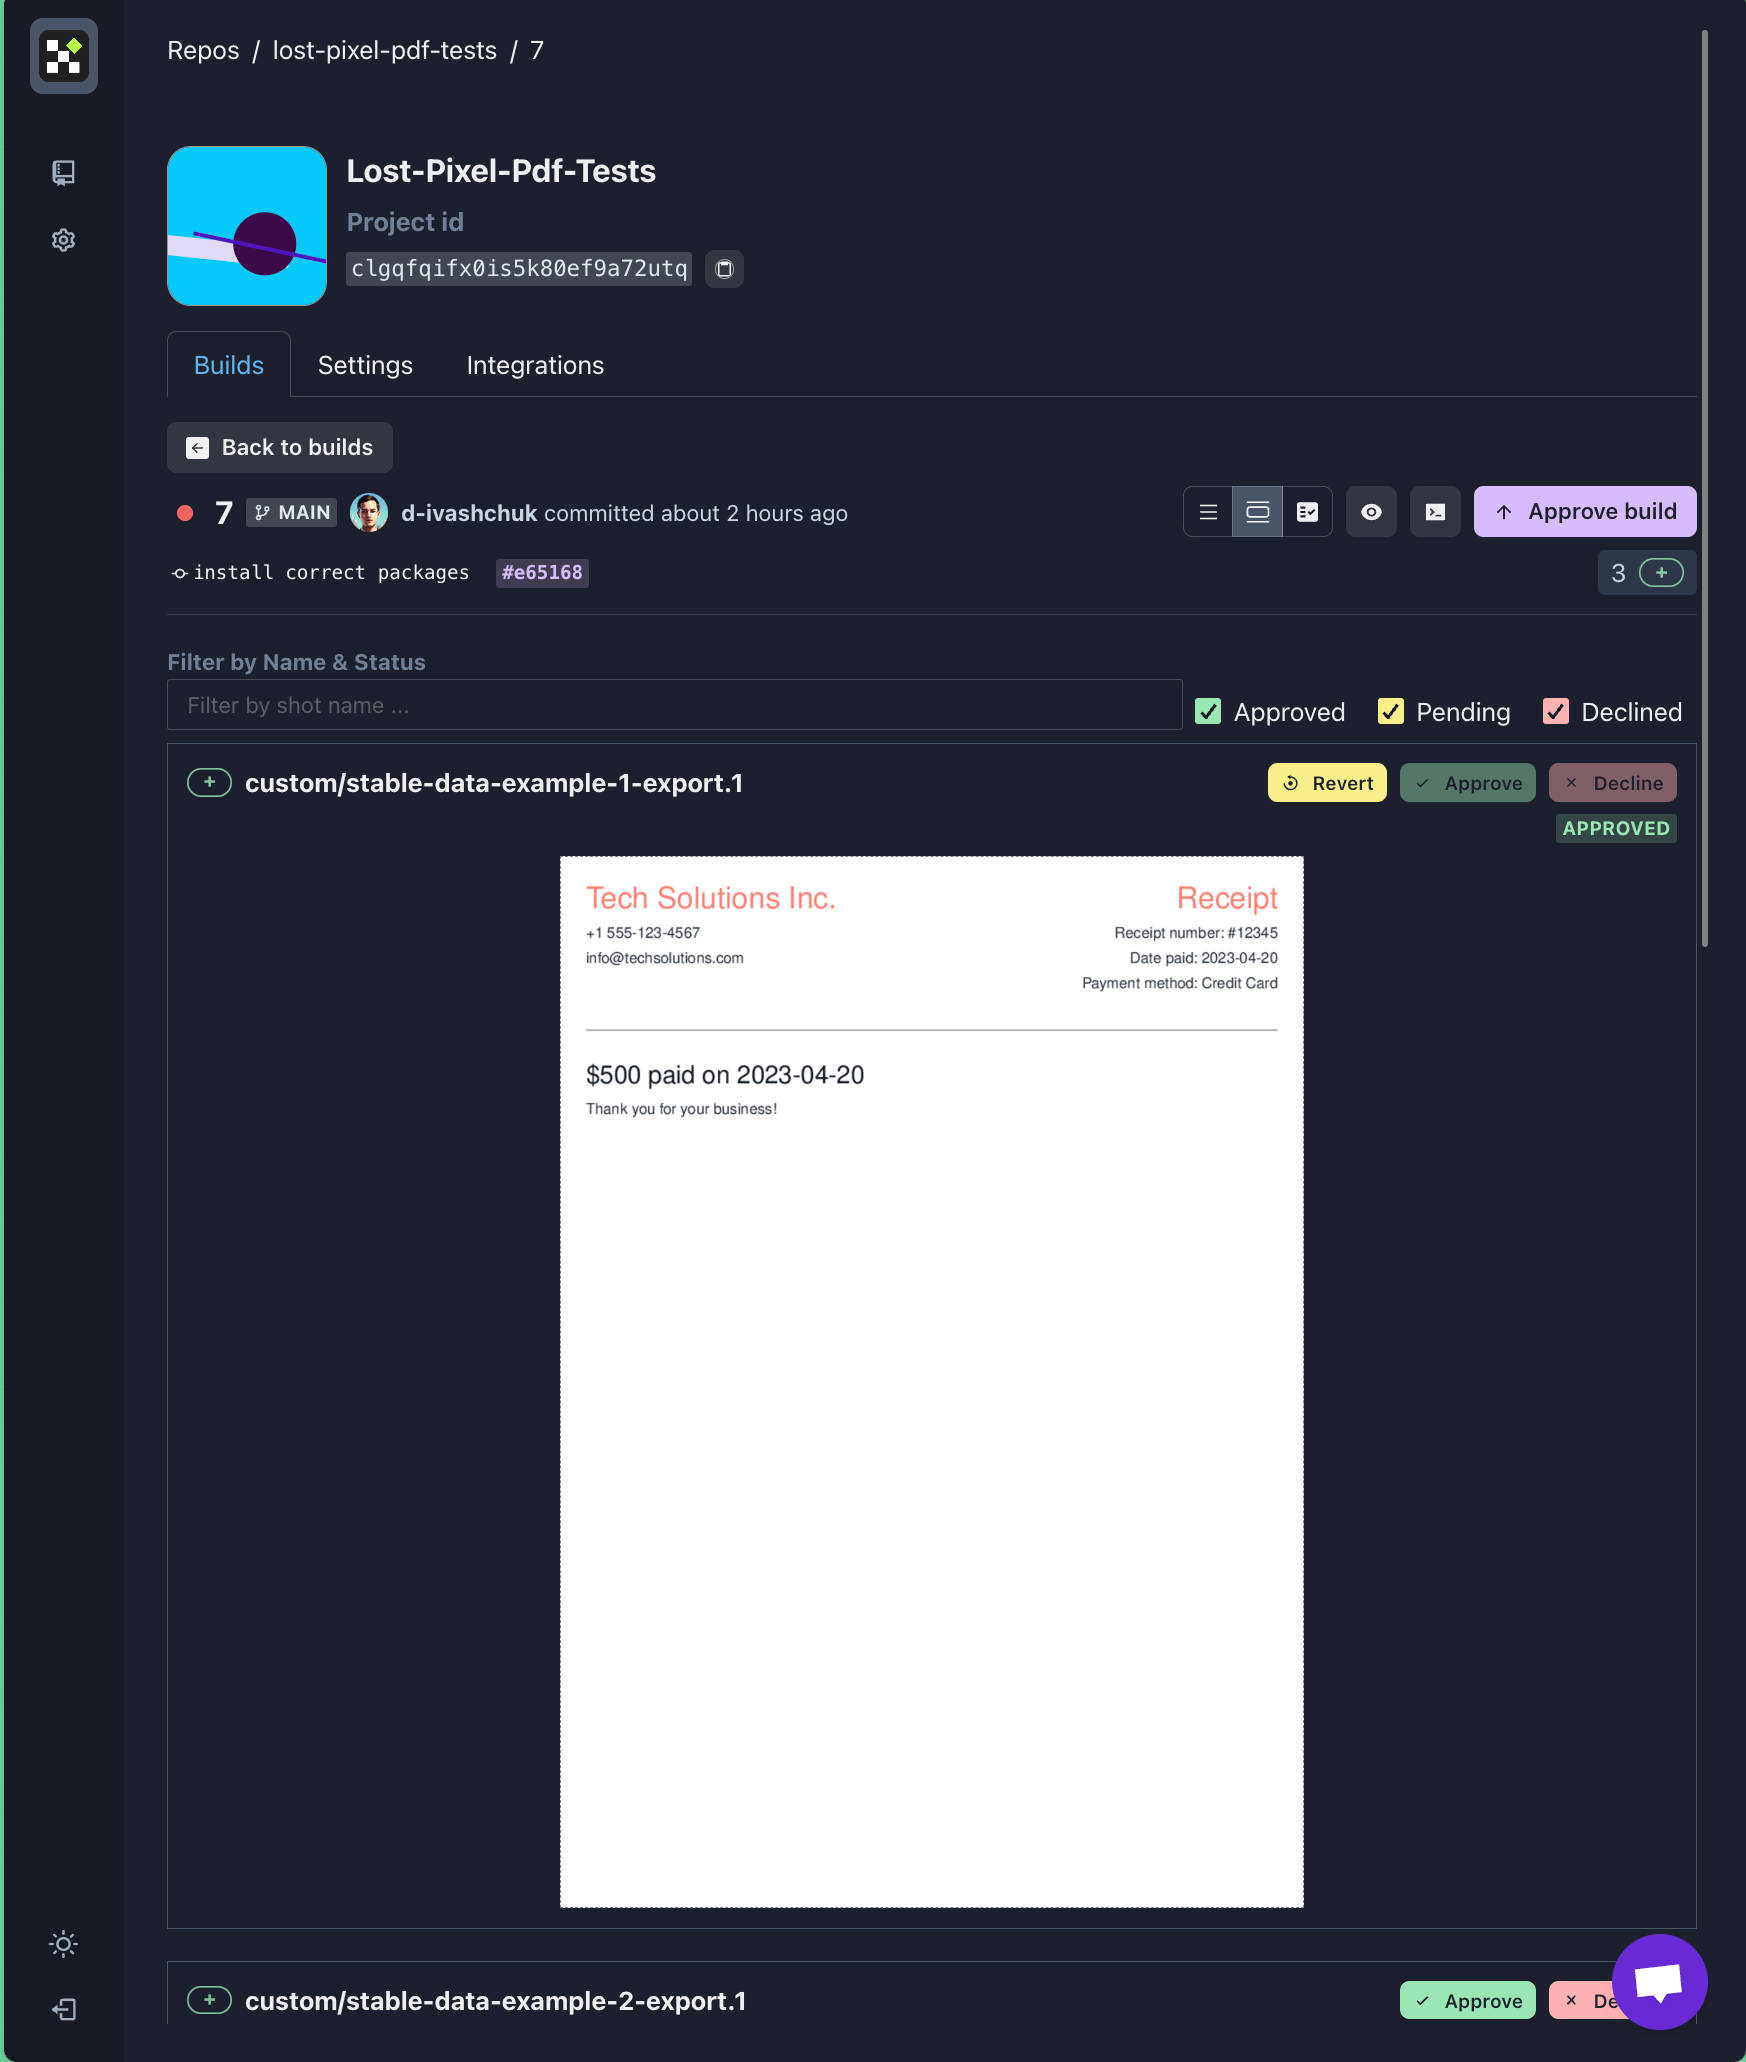
Now you can easily monitor your PDFs for visual integrity and ensure they all look exactly like they should!
Summary
We have implemented a Visual Regression Testing workflow for our PDFs, but it does not end here. While this tutorial is quite simplistic and focuses on the core implementation of Visual Regression Testing on CI, you can extend your visual tests with many flexible options to make them less flaky and more robust!
If you need help, I am always happy to chat on Visual Regression Testing Discord!

About Dima Ivashchuk
Hey, I'm - Dima the co-founder of Lost Pixel. I like modern frontends, building stuff on the internet, and educating others. I am committed to building the best open-source visual regression testing platform!