Introduction
SwyxKit is a thoughtfully created blog starter kit for SvelteKit, integrated with Tailwind. It provides a structured yet flexible environment for your blog, with GitHub Issues serving as a streamlined Content Management System (CMS).
The purpose of this tutorial is to ensure that our Svelte applications are both functional and visually precise. That's where Lost Pixel comes into play. It's an open-source tool designed to help identify visual discrepancies by capturing screenshots of your app and highlighting any unexpected visual problems.
In this guide, we'll exlore holistic setup for visual tests with Histoire and component level visual tests & page tests for their integration. Our main goal is to have a bulletproof visually cohesive interface, and modern tech allows for that!
Whether you're just starting out or have a wealth of experience, this guide aims to equip you with the knowledge to set up visual testing both locally. For the GitHub action setup you could refer to this guide
Setup
Clone Swyxkit repo and run npm install to install the dependencies. We can now run the whole project by npm run dev.
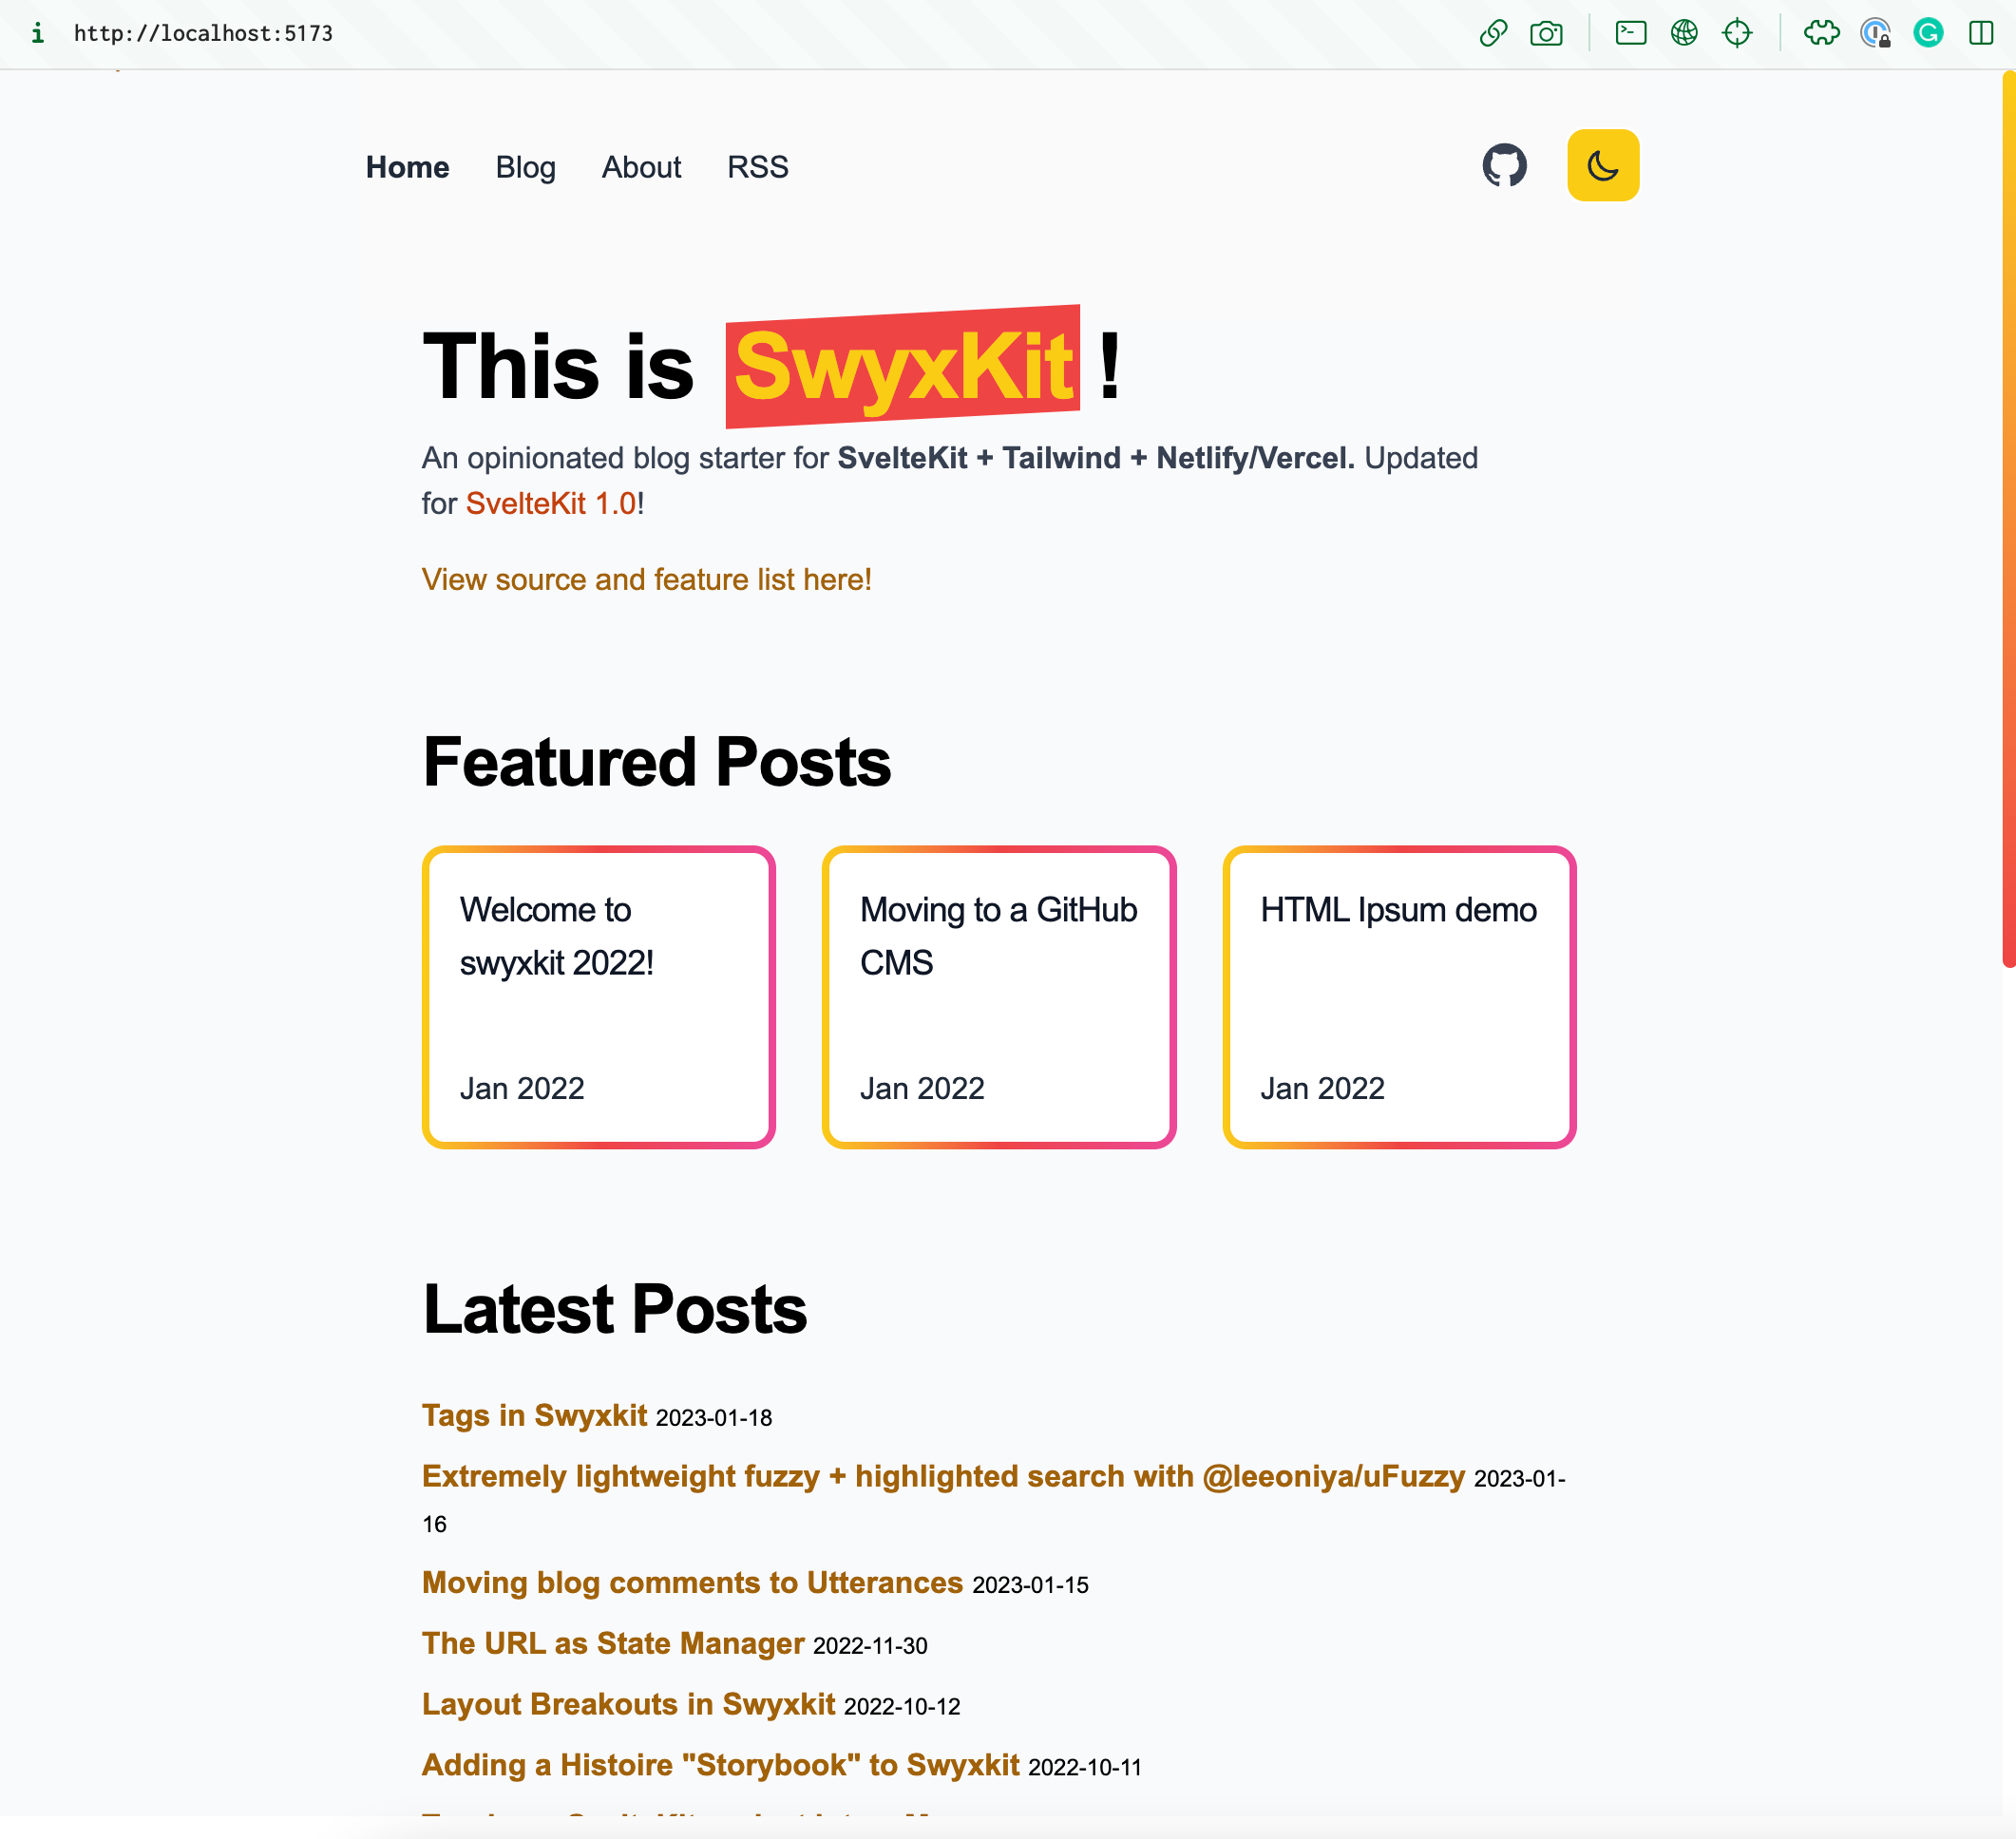
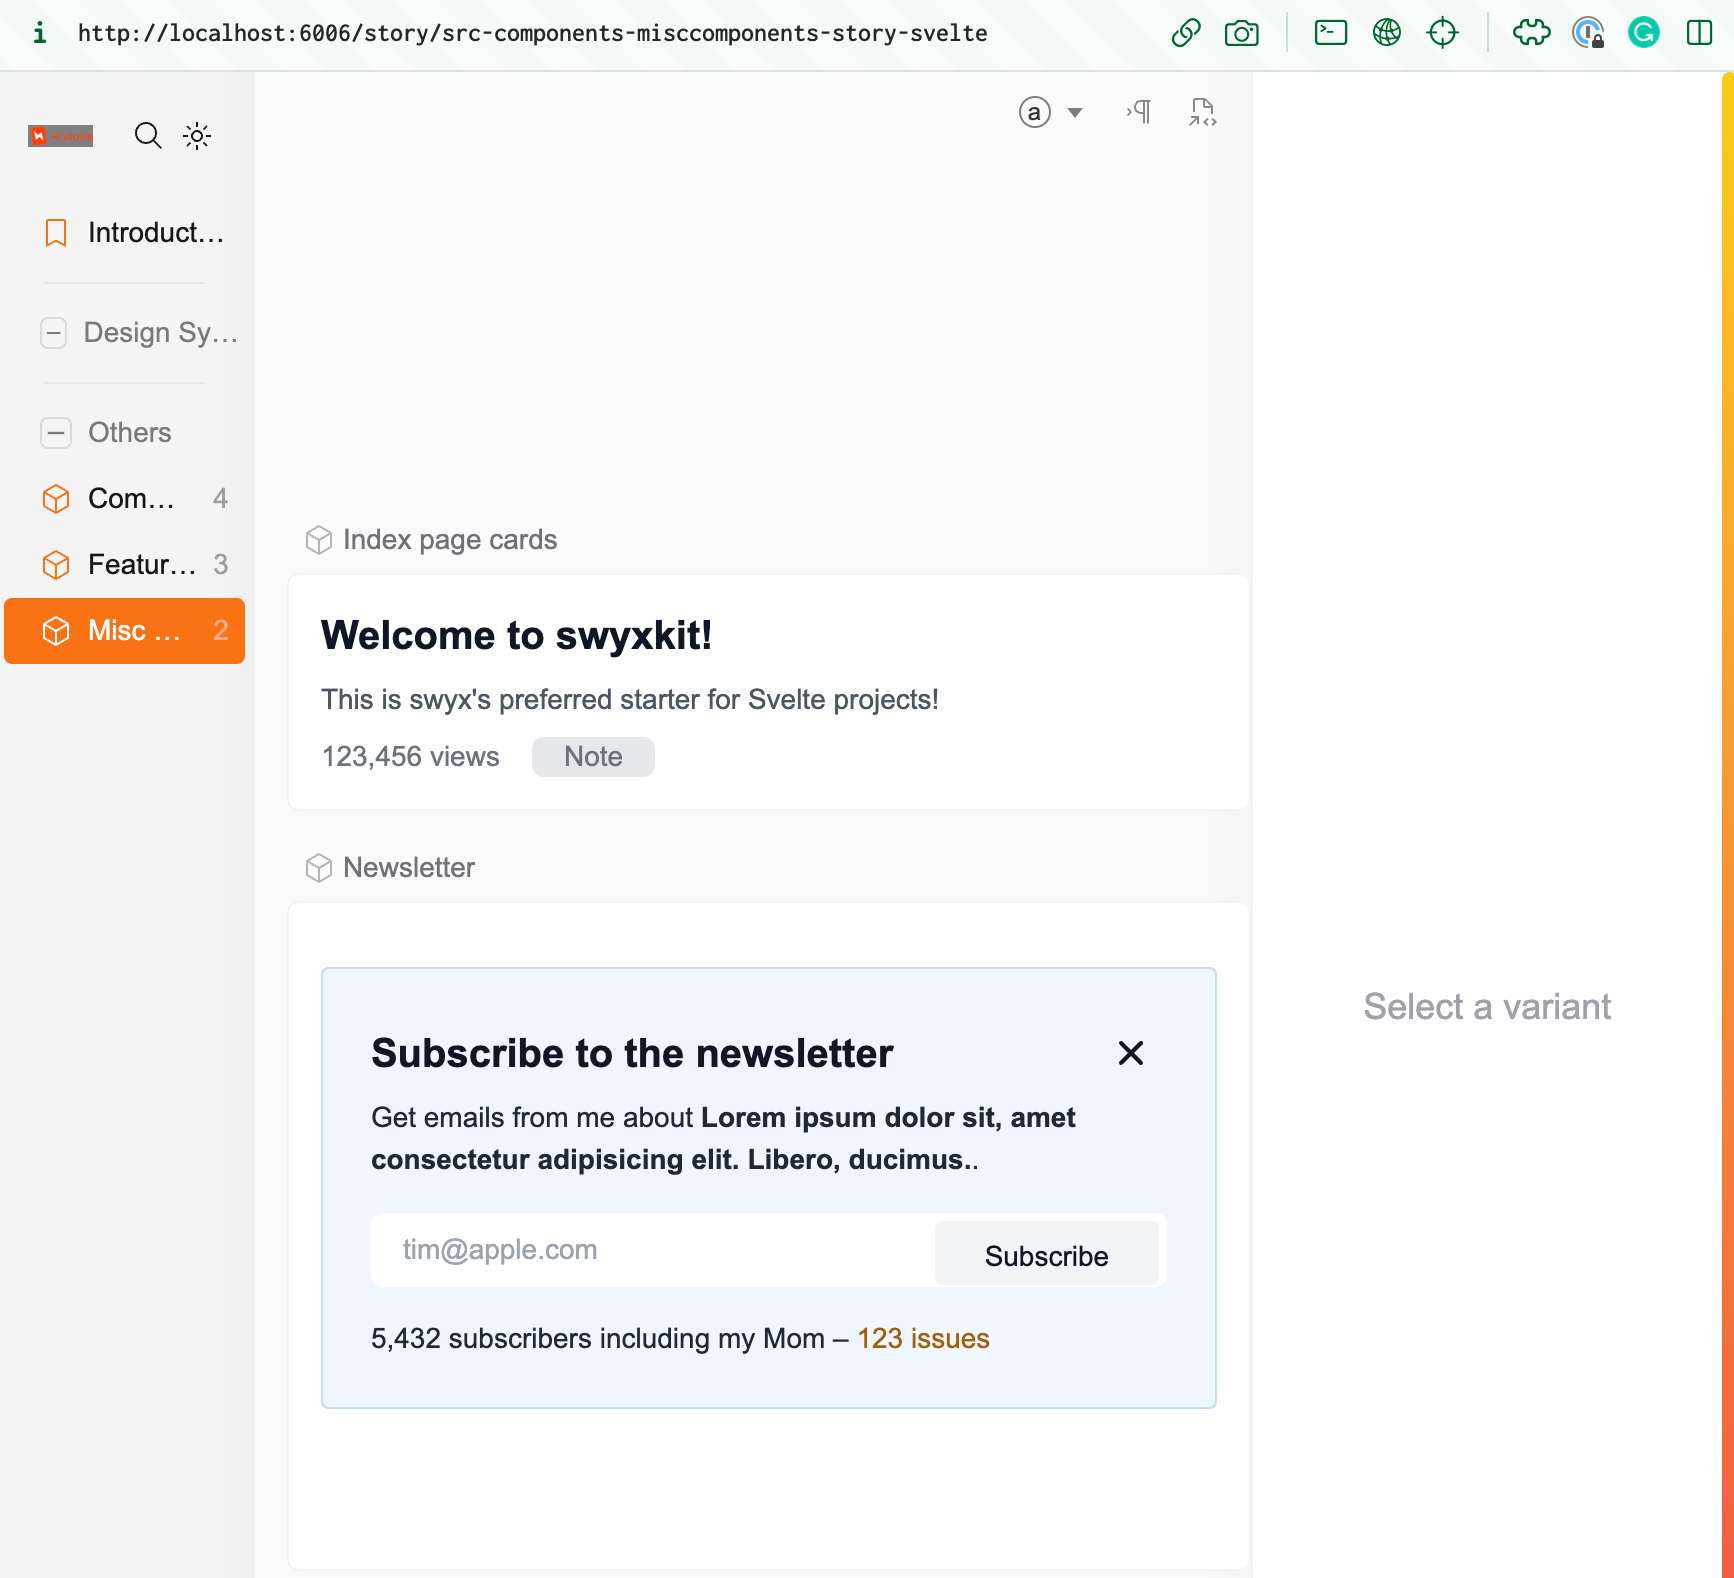
You will see that dev command will run both our component library - Histoire and the SvelteKit application on different ports.
You should be able to access these pages:


We are ready to introduce the open source visual regression testing workflow to our app! Let's get started.
Visual regression testing SvelteKit & Histoire
Lost Pixel is a holistic visual regression testing tool which is composable by nature. It's very easy to test our Histoire stories with almost 0 setup, but at the same we can go one step further and test our whole pages when needed. Let's see how we can do it!
Let's install lost-pixel by running npm install lost-pixel and create lostpixel.config.ts file and point it to .histoire folder, where we will build our Histoire soon.
// lostpixel.config.ts

import { CustomProjectConfig } from 'lost-pixel'

export const config: CustomProjectConfig = {
  histoireShots: {
    histoireUrl: './.histoire/dist',
  },
 pageShots: {
    pages: [{ path: '/welcome', name: 'welcome-post' }],
    // IP should be localhost when running locally & 172.17.0.1 when running in GitHub action
    baseUrl: 'http://localhost:5173',
  },
  generateOnly: true,
  failOnDifference: true,
}
This config tells Lost Pixel that we want to test Histoire stories & also one page from the app.
After making sure that we have a built Histoire folder by running npm run story:build and running our app npm run dev we can run Lost Pixel and see its magic at work:
npx lost-pixel update
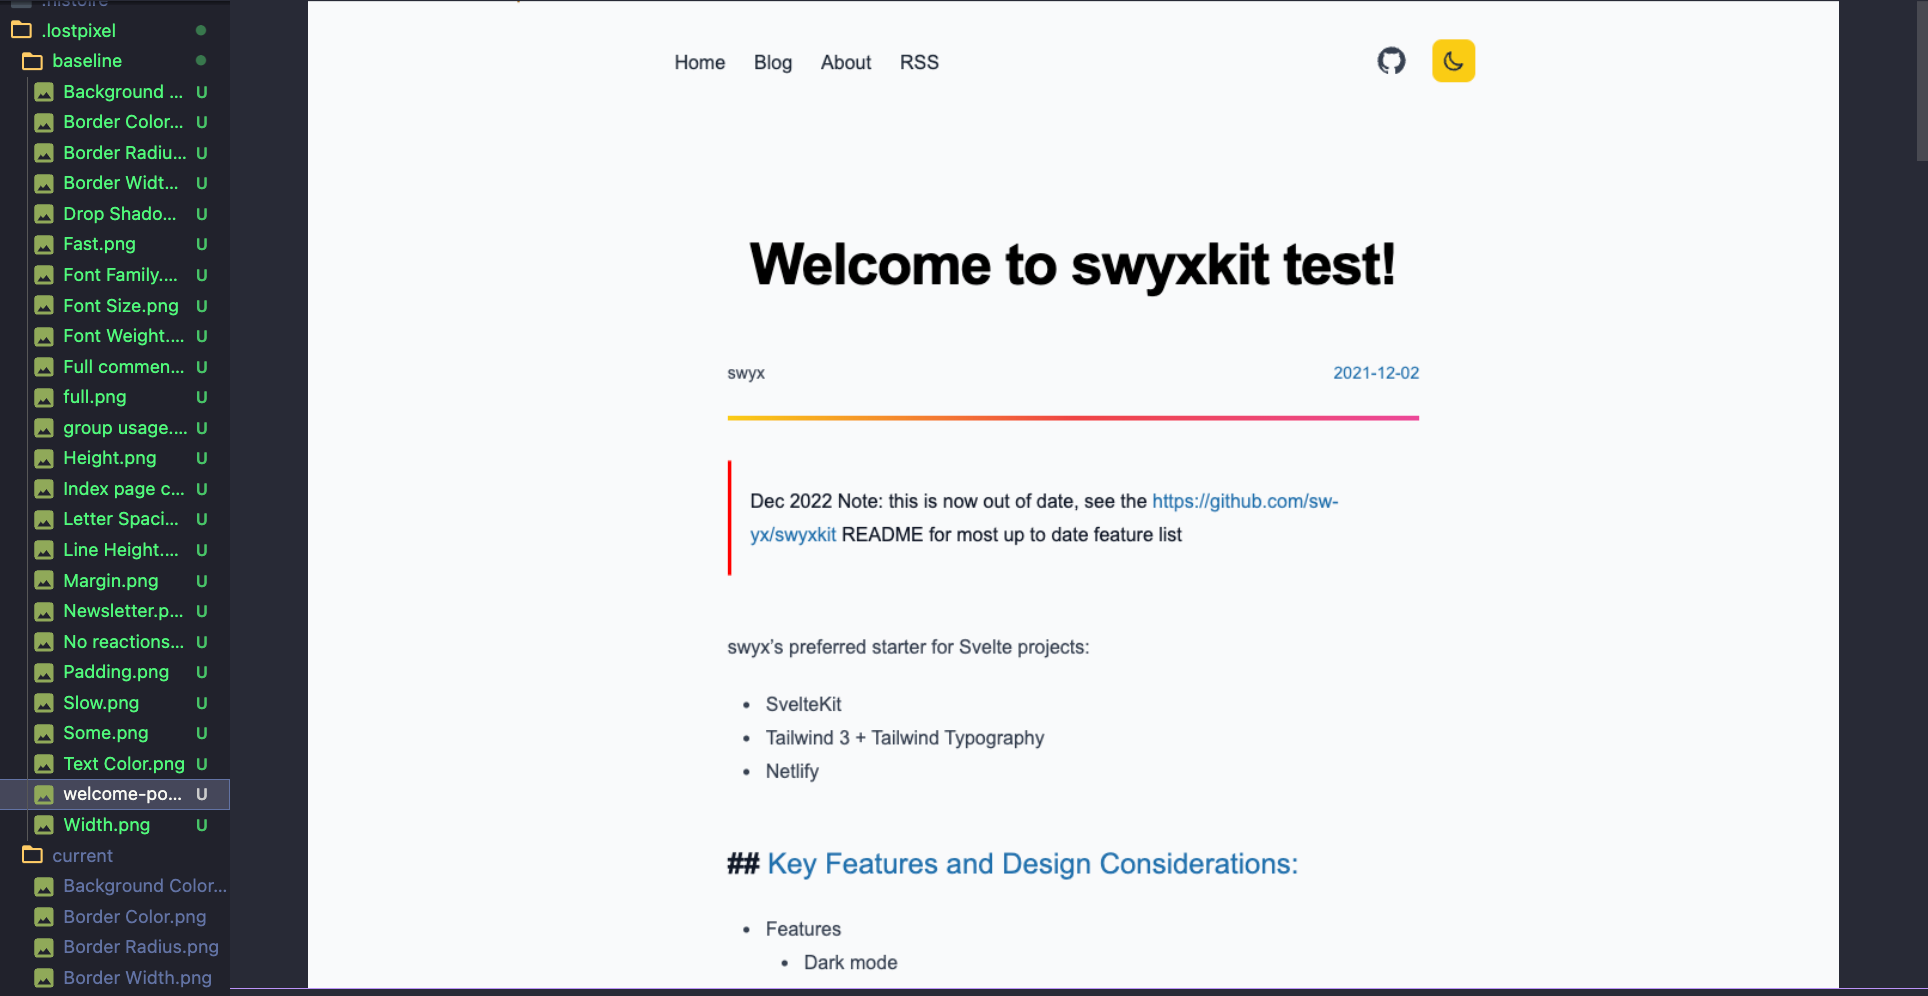
This will run lost-pixel engine for the first time and will also use the generated images as baselines. You can manage your baseline images in the .lostpixel/basline folder.
You can see that all our stories & also the page have been visually snapshotted and then on next runs we will be able to see if there are any regressions happening:

Whenever you update your components and expect the visual changes you can run npx lost-pixel update to update the screenshots. If you want to run the test locally just do npx lost-pixel
As mentioned before this setup would work locally but if you need to bring it to the next level and run it on CI you can refer to this guide
Ending thoughts
Visual regression tests could serve as a cheap to maintain and powerful addition to your E2E and unit tests. The ease of setup and maintenance are unique selling points that Lost Pixel has to offer and that's why I think you should give it a go. It is powerful addition to your tests as an indie hacker but also it can be indespensable when working with a large team

About Dima Ivashchuk
Hey, I'm - Dima the co-founder of Lost Pixel. I like modern frontends, building stuff on the internet, and educating others. I am committed to building the best open-source visual regression testing platform!
